How To Install Board And Batten Siding | The Complete Guide
Few looks are as iconic as board and batten siding. However, did you know that there are multiple ways to get achieve the looks of board and batten siding? In this blog, we will talk about the three most popular ways of how to install board and batten siding.
What is Board and Batten Siding?

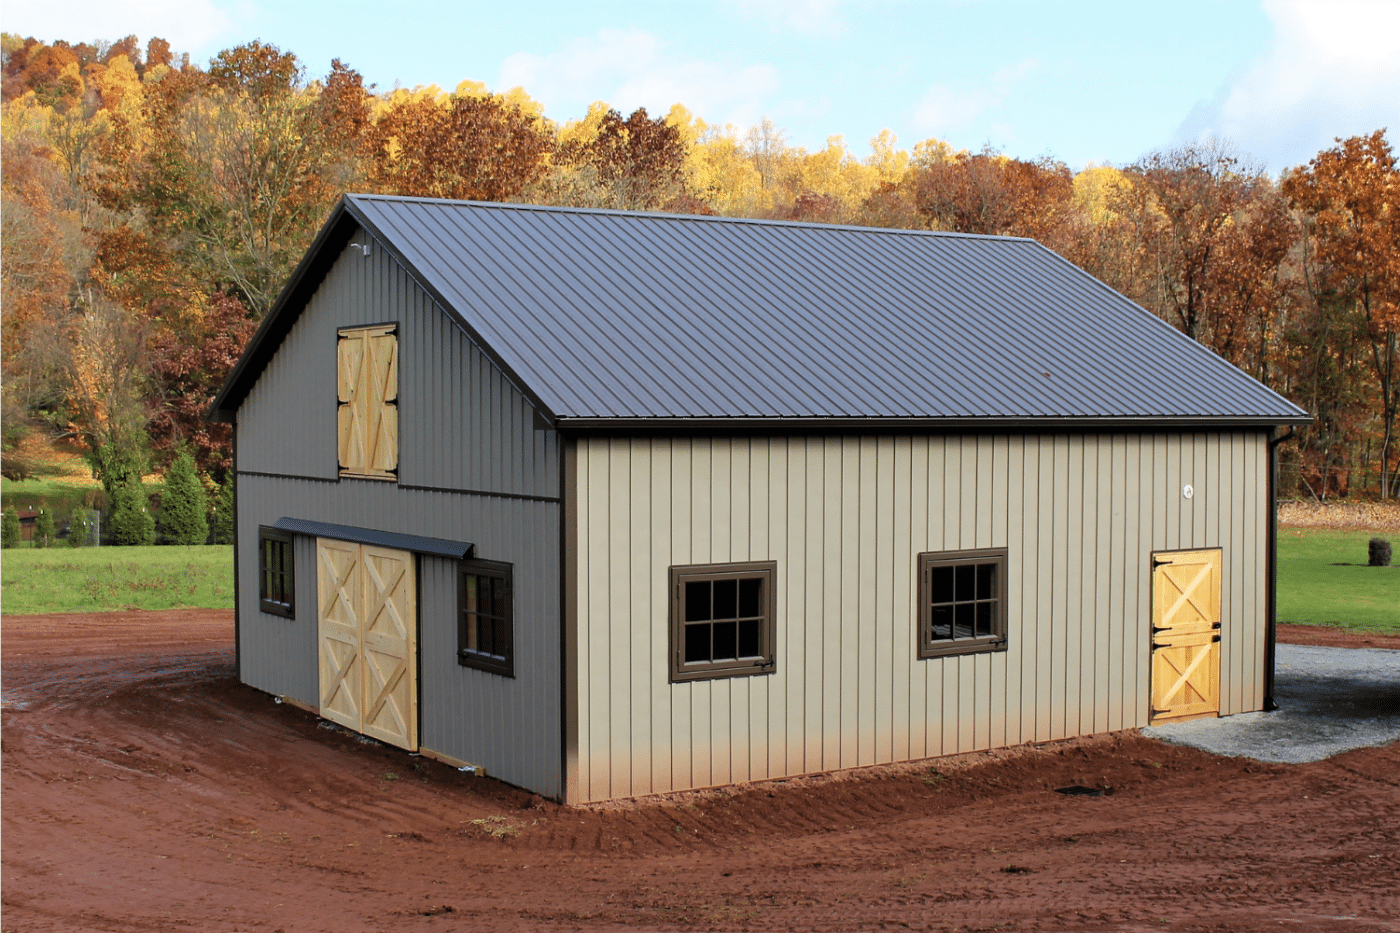
Board and batten siding originated in the 1830s by the designer Gil Walsh. Board and Batten siding uses wide boards (the board part of the siding) and Narrow Boards (the batten of the siding). Traditionally board and batten siding has been used for barn siding. However, board and batten siding has grown in popularity for use in homes and businesses as well.
Is Board and Batten Siding A Traditional Or Modern Look?

Even though board and batten is an older siding style, it is viewed as a modern look. Traditionally this style was created to be an exterior siding. However, this siding has become increasingly popular for interior usage as well. Commonly, you will see this look at the entryway of the home.
What Kind Of Materials Can Board and Batten Siding Be Found in?
Board and Batten siding can be found in vinyl, wood, and steel. Each of these materials has its pros and cons. Something to keep in mind is that if you do not use true boards and battens, you may get the appearance of something similar to board and batten but not the iconic look and feel. This is because the traditional board and batten siding offer a 3-inch batten and a 10-inch board, whereas the other materials are simply trying to mimic the appearance and will look slightly different. Whether you are using it for house siding or to create some privacy for your swimming pool, board and batten will give a great look!
Vinyl Board and Batten Siding

How Do I Install Vinyl Board And Batten Siding?
Board and Batten vinyl siding is installed similarly to traditional vinyl siding. However, to put the siding into place, it is done vertically instead of horizontally. This means that you will need a hammer, nails, and some snips to get the job done correctly. To get the best idea of how to install vinyl board and batten siding, we have found this video to be helpful. Below is a step-by-step guide for installing vinyl board and batten siding.
1.) Prepare Base
The first thing to be concerned about is the base or the material that the vinyl board and batten are installed on. Traditionally, it was installed on beams running horizontally(purlins) 16”-24” apart; however, vinyl is not strong enough to span that distance. The best base is OSB or plywood to provide plenty of support for the board and batten.
If there is existing siding, remove any original siding materials. You may need to add to the base that is there.
If your project is a remodel, and there is already a solid base, remove any nails or other obstructions to make sure that the surface is entirely smooth and ready for installation.
2.) Building Wrap
The second thing is to install a building wrap like Tyvek in order to make it more weather-resistant. For a shed or barn, this is less important if you don’t need it to be as weather-tight.
3.) Install Corners
Next, install the corner pieces. They are pre-formed vinyl or tin pieces that fit on the corner. Most of them will have a J-channel already built in.
4.) Attach J-Channel
The J-channel should be installed around all openings, including windows and doors. If the corner posts do not have a J-channel built into them, put a strip directly next to it to cover and hold the beginning and ending board and batten pieces. If you intend to install board and batten siding the whole way up to the eave, you must ensure that you have F-Channel trim so that your siding fits properly with the soffit in place.
5.) Attach Starter Strip
In this case, use a J-channel along the bottom of the wall where you want the vinyl board and batten to stop.
6.) Measure and Mark
Measure the width of the board and batten and mark out the edge of each piece. If you measure both the top and bottom, you can use a chalk line to snap lines. This gives you a precise line to follow for each piece.
If you want an even look for the wall, find the center and measure from there. This means that you should end with partial pieces on both ends, but it should be equal on both sides, giving your project a cohesive look.
Use a measuring tape and chalk line to mark the placement of the vertical battens. The spacing can vary but is typically between 10-12 inches.
7.) Cut Panels
Measure the vinyl pieces and cut them to the correct length. If you have a straight wall, it may be more efficient to cut several at a time to save time, as they should be the same length. If you have doors, windows, or other irregularities, cut the panels as you go.
8.) Install Panels
Vinyl boards and batten panels are designed to clip into the previous one. This is very similar to the way traditional vinyl siding is installed. Starting at one end, push the edge of the first piece into the J-channel that connects to the corner post.
The tab side should be exposed and be loosely nailed every 12”-16” the entire length of the piece. Once nailed, clip the next piece onto the first piece and nail the second piece.
If you start out with a cut piece, use a piece of underseal trim, a piece designed to fit into the J-channel and will hold the cut piece firmly.
Continue to install panels until you reach the opposite end. Make sure that you are following the lines that you previously marked. You can use a level to make sure that your pieces are plum.
9.) Finish Panels
When you reach the opposite corner, you most likely will need to finish it out with a partial piece. If you need to fit the piece in snuggly, use a piece of under-trim and ensure that the piece is clipped in properly. Your vinyl board and batten wall should now be finished, and you can move on to the fascia and soffit.
As you can see, installing this siding is not extremely difficult but will take some know-how. However, setting up your siding needs to be done properly, or it may result in damage to the wall structure of your building. This blog is intended for educational purposes only and should not substitute for hiring a professional with the proper knowledge to set it up appropriately.
What Are The Pros And Cons Of Vinyl Board And Batten Siding?
All Board And Batten siding styles come with pros and cons. Some of the cons may be easy to overlook, while others can really be deal breakers. To help you better understand the pros and cons, take a look at the list that we have developed to help you make the best decision for your needs.
Pros
Many Color Choices
Easy To Wash
Readily available
Easy To Find Replacement Pieces
Cons
Brittle In Cold Weather
Lasts Only 20 years
Easily Cracks
Sun Fading Makes Finding a color-matched piece difficult
Wooden Board And Batten Siding

How Do I Install Wooden Board and Batten Siding?
Installing wooden board and batten siding is not for those who enjoy a “quick weekend project.” This version of beard and batten installation takes a good bit of know-how and resources. However, if you want a truly iconic board and batten-style siding, we have found that this video is very helpful in teaching you how to install it.
If you would like a step-by-step guide, we have composed one for the ambitious DIYer.
1.) Prepare Base
Wood board and batten siding can be installed on several different bases. For the most secure and robust base, use plywood. On the other hand, evenly-spaced purlins are a great option as well, as long as the boards can be fastened every 24”.
2.) Building Wrap
Building wrap like Tyvek is a good idea as it helps make your building more secure from the elements. It can also help keep out bugs, which is beneficial if you install this on a house. Additionally, this can help with insulative properties.
3.) Measure
Measure the boards to determine what your spacing should be. With wood board and batten, the boards should have a small gap between them to allow for expansion and contraction. If your boards are 6” wide, space them ⅛”-¼” apart.
We recommend that for every additional 4 inches of board width, you add in ¼” more of space. This is especially important if you are using rough-cut lumber. If you are using processed lumber, this is not as important as the expanding and contacting should not be as substantial.
Mark your spacing on the top and the bottom, and snap (using a chalk line) or draw a line for each board. Because they are not tight against each other, it is easy to misalign the boards as you go if you do not have marks. This can cause you to either make a mistake in your material needs or have boards that are not entirely straight.
If you want an even look, start measuring from the middle of the wall and measure to the edges. This gives the same size piece on both ends. This can be especially helpful if you are working with odd wall widths.
4.) Fasten Bottom Rail
Put a horizontal strip of wood along the bottom of the wall where you can rest the boards as you fasten them. This makes it easier to install and will keep the edge of the boards even. It can be removed later if you wish.
5.) Attach Boards
Once everything is marked, cut the boards and fasten them onto the wall using a nailer. Start at one end and work to the opposite side. It may be more efficient to cut all the boards at once, but if you have some windows or doors in the wall, it is better to cut and fasten as you go.
Attach the boards to the wall every 16” to 24”. Only fasten on one side of the board so that the board can expand if needed. Otherwise, the board may bow in the middle.
Also, make sure that your fasteners are close enough to the edge of the board for the batten to cover. This will give a cleaner look.
6.) Install Trim
Once you have all the boards attached, it is time for the trim. Trim around any doors or windows and cap the corners for a finished look.
7.) Fasten Batten
Fasten the batten strips over the gap between the boards. The batten is designed to hold the boards in place, so ensure the nail or screws go between the boards into the base layer. If you are only trying to simulate board and batten siding, then it is fine to attach the batten onto the boards.
8.) Caulk and Seal
Once all of your boards and batts are in place, use caulk to seal the cracks and joints. This will help keep the weather, bugs, and moisture from getting into your building.
To finish it off, add a sealant layer to the wood boards. This is often accomplished by staining the wood and will cause this siding to last longer.
As you can see, this is a fairly labor-intensive project. However, for those who want the true board and batten look, there is no substitute for your desire. Keep in mind that the people in this video are offering you their personal experience and knowledge. Your project may be different then the one depicted in the video. We highly advise that you work within your comfort zone and seek advice from a trusted professional when you take on a project like this.
What Are The Pros and Cons Of Wooden Board And Batten Siding?
Installing true board and batten siding has a long list of pros and cons. However, we feel that this style does have slightly more cons than pros. To help you determine if this board and batten siding style are what you need, take a look at the list below.
Pros
Appealing To Many People
Easy To Replace Damaged Pieces
Truly Custom Color Options
Cons
Time-consuming to put up
Costly
Appearance is very specific
Prone To Warping
Easily deteriorates if not installed correctly
Steel Board And Batten Siding

Given that we are a steel panel manufacturer, it should come as no surprise that we are partial to steel Board and Batten Siding. Steel Board and Batten siding offers color options and the ease of installation that you see with vinyl. Additionally, this siding will outlast both wood and vinyl siding. To understand how to install steel board and batten siding, we found this video to be very helpful in explaining the process.
HOw DO I Install Steel Board and Batten?
Before you get started installing your steel board and batten siding, we recommend that you take a look at our board and batten installation guide. Here, you can see what materials you can anticipate needing for your board and batten project. It also serves as a great resource if you find yourself stuck while completing the project.
1.) Prepare SUrface ARea
The first step in the process is to prepare the wall area you plan to cover. We recommend that the base is OSB or plywood to provide good support for the steel siding. The steel panels need to be fastened every 16” to 24”, so there needs to be contact with the base at least that often. You could use a horizontal 1” x 3” studding, known as lathe, as well for a fastening surface.
2.) Building Wrap
Using a building wrap like Tyvek is an excellent choice because it enhances the weather resistance of your structure. It serves as a protective barrier against the elements and plays a key role in preventing the infiltration of pests. Make sure that you install the wrap before installing any metal products.
3.) Corner Posts
The first part of your board and batten siding to install is the corner posts. The steel board and batten siding clip into the corner post, so they need to be installed first. At Wagler Steel, our corners come with built-in J-channel for a clean transition.
4.) Install J-Channel and Base Angle
Around each door and window, install J-channel to cover the ends of the panels. Fasten with roofing or wide-head nails. Above doors and windows, use a product called a drip cap to divert the water and prevent leaking.
Along the bottom, install base angle(rat guard trim) to finish the lower end of your siding. This makes a nice, leakproof finish for the wall. At the top of the wall, use our F&J channel if you are planning to install a soffit as well. We combine these transitions, so you only have to install one piece instead of two. All of the border pieces should be fastened before you install the panels. Check out our metal trim options if you need additional pieces for specific situations.
5.) Attach Panels
Once all the border pieces are installed, you can begin the installation of the panels themselves. Start at one corner and work your way towards the other. Each panel will clip into the previous one and has a nail strip on the opposite side where you can fasten it with nails or screws.
We recommend that you level each piece as you install it to ensure that it does not become crooked.
If you have a cut piece that fits into a J-channel, use utility trim to keep the piece from rippling. This trim piece fits into the J-channel for a secure hold. If the batten ends at the J-channel, use a furring strip that will assist in making sure that the panel is properly supported.
6.) Caulk and Seal
Our steel board and batten siding are very durable as well as weatherproof. However, if you want to make sure that certain components are totally sealed off, we suggest caulking them. To make your project go as seamlessly as possible, we offer color-matched caulk for all the metal finishes that we offer.
We want you to have siding that will stand the test of time and look good the whole time. Our metal board and batten panels do precisely that. Check out the different styles of board and batten siding we offer. If you need an exact description of installing each piece of trim, see our board and batten installation guide.
Not only are our panels durable, but they also will keep you looking good for years to come. We offer them in a smooth finish, crinkled finish, and wood grain finish. Additionally, if you find that you don’t want board and batten panels for your whole project, check out our other metal panels. If you have questions or would like some products for your project, please contact us or ask for a free quote, and we will be happy to assist you!
As you can see, using steel board and batten siding is a great way to build whatever project you have in mind. While the man featured in the video is a pro at what he does, you may feel overwhelmed at taking on such a task. If that is the case, we advise working with a contractor who is capable of doing the work and setting you up for success. However, we believe Steel Board and Batten Siding offer far more to you as a consumer than the other options that are available in today’s market.
Pros
40-year warranty
Custom lengths available
Fire Resistant
Easy To Install
Real Wood Looks available
Color Matched trim and hardware
Cons
Denting
Not as readily available in big box stores
So How Will You Side Your Next Project?
As you can see, Steel Board and Batten have a lot of things to offer you. With steel, board, and batten siding, you will have affordable, long-lasting siding options that are so easy you may feel comfortable doing it on your own. We know the other options offer some quality competition however, we want to see you outperform our competitors. So when you are ready to get your steel board and batten siding project completed, give us a call at Wagler Steel, and we will be happy to give you a hand on getting your project up and running.