How To Install Metal Roofing
10-Step DIY Guide For Installing A Metal Roof
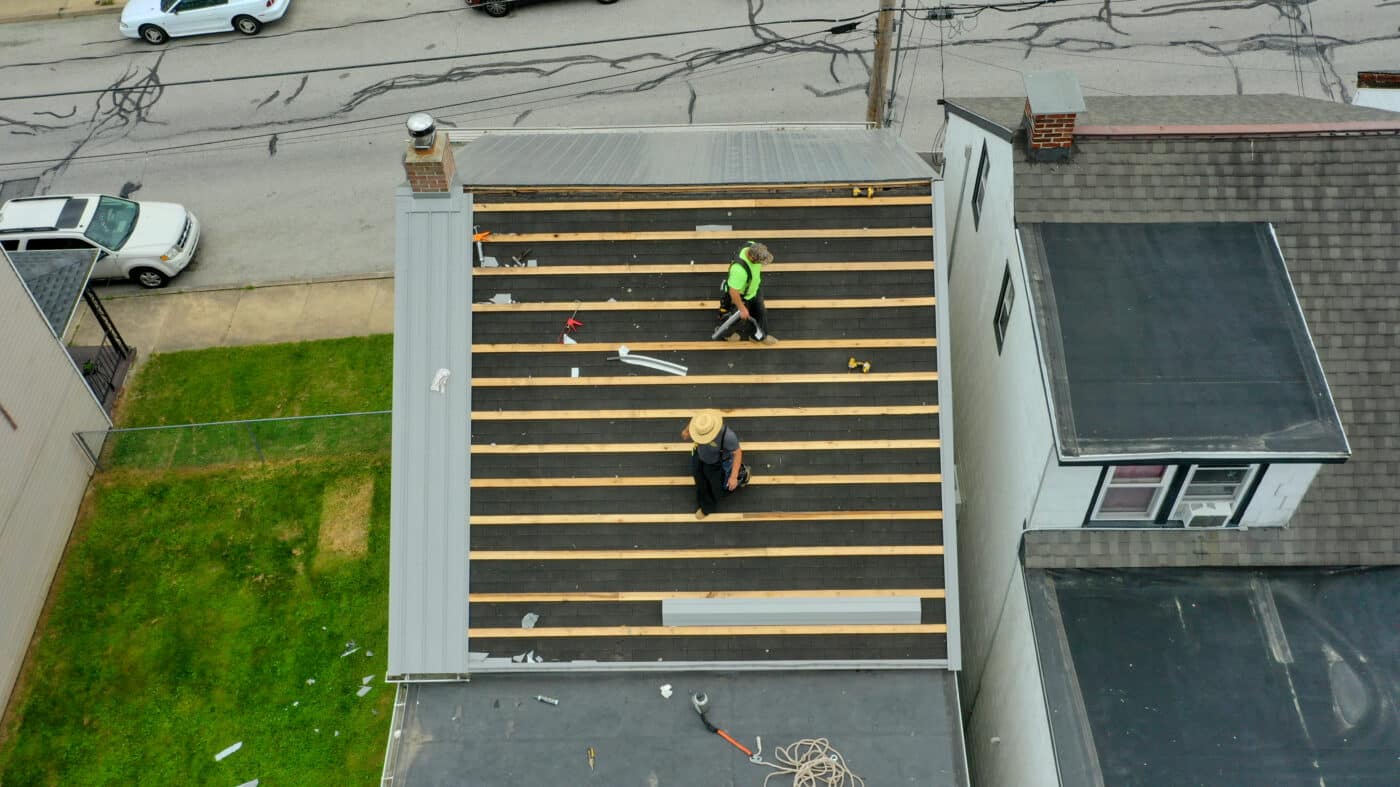
Metal roofing is gaining popularity among homeowners for its durability, energy efficiency, and pristine look. Whether you’re aiming to replace an old roof or start fresh with a new build, metal roofing offers a modern, long-lasting solution that’s ideal for all kinds of structures.
This guide is designed for DIY enthusiasts who want to install their own metal roof. We’ll walk you through the key considerations, essential preparations, and step-by-step instructions to help you achieve top-quality results. Wagler Steel is here to support you every step of the way with high-quality metal panels, expert advice, and personalized recommendations.
What To Know Before Starting Your DIY Metal Roof Installation
Good preparation is the cornerstone of a successful roofing project. Proper planning can not only save you time and money, but also ensures a seamless installation. Before you begin, it’s important to consider a few essential factors to make sure your project goes smoothly and ends up looking great.
Roof Replacement Vs. New Roof
When installing a metal roof, the approach will vary depending on whether you’re replacing an existing roof or working on a new construction. For a roof replacement, metal roofing can often be installed directly over the existing shingles, if this complies with local building codes. This approach saves time and reduces disposal costs, but it requires inspection to ensure the surface is even, sturdy, and damage-free. On the other hand, installing a metal roof on a new structure involves precise measurements and a well-prepared underlayment to provide a stable foundation. This guide focuses primarily on roof replacement.
Type of Structure
The type of structure you’re roofing significantly affects the installation process. Residential houses often feature multiple roof sections, ridges, and eaves, adding complexity to the project. Barns, sheds, and similar outbuildings typically have simpler designs with fewer structural features, making them easier to roof. If you’re tackling a house, you might need to account for elements like chimneys, valleys, and dormers, which require more detailed planning and additional materials like flashing. This guide provides detailed instructions for residential installations, which are more common types of roofing projects.
Metal Panel Type
Choosing the right type of metal panel is a key decision that impacts both the appearance and functionality of your roof. Understanding the strengths and limitations of each panel type, no matter what manufacturer you choose, will help you make an informed decision for your project. At Wagler Steel, we offer three quality panel options, each tailored to specific needs and preferences. The Wagler Panel is a versatile and budget-friendly choice that works well for all roofing applications, the Standing Seam Panel is ideal for those seeking a sleek, modern look with concealed fasteners, and the Paradise Panel strikes a balance between aesthetics and affordability.
Roof Measurements
Accurate roof measurements are essential for ensuring you order the correct size and quantity of materials. Start by making measurements to calculate the total square footage of your roof to determine how many panels you’ll need. Additionally, measure the length of each roof section from the ridge to the outer edge of the eave to determine necessary panel length. These measurements are critical for ordering panels that fit your roof dimensions and for minimizing material waste. Taking the time to measure carefully also helps avoid delays or added expenses during installation.
Project Budget
Setting a realistic budget is a vital step in any DIY project. When planning for a metal roof installation, include the potential costs of the panels, any metal trim, underlayment, accessories, and other materials. Don’t forget to account for tools or equipment rentals if you don’t already have the necessary gear. A well-structured budget ensures you’re prepared for all aspects of the project and prevents unexpected costs.
Wagler Steel is dedicated to helping customers succeed in their metal roofing projects. Our team of experts offers guidance on panel selection, accurate cost estimates, and tailored material recommendations. Additionally, we provide high-quality accessories that ensure your installation process is smooth and efficient. With Wagler Steel, you’ll have the resources and support needed to complete your roofing project confidently and effectively.
10-Step Guide To Installing Your Metal Roof
1. Prepare the Roof Surface
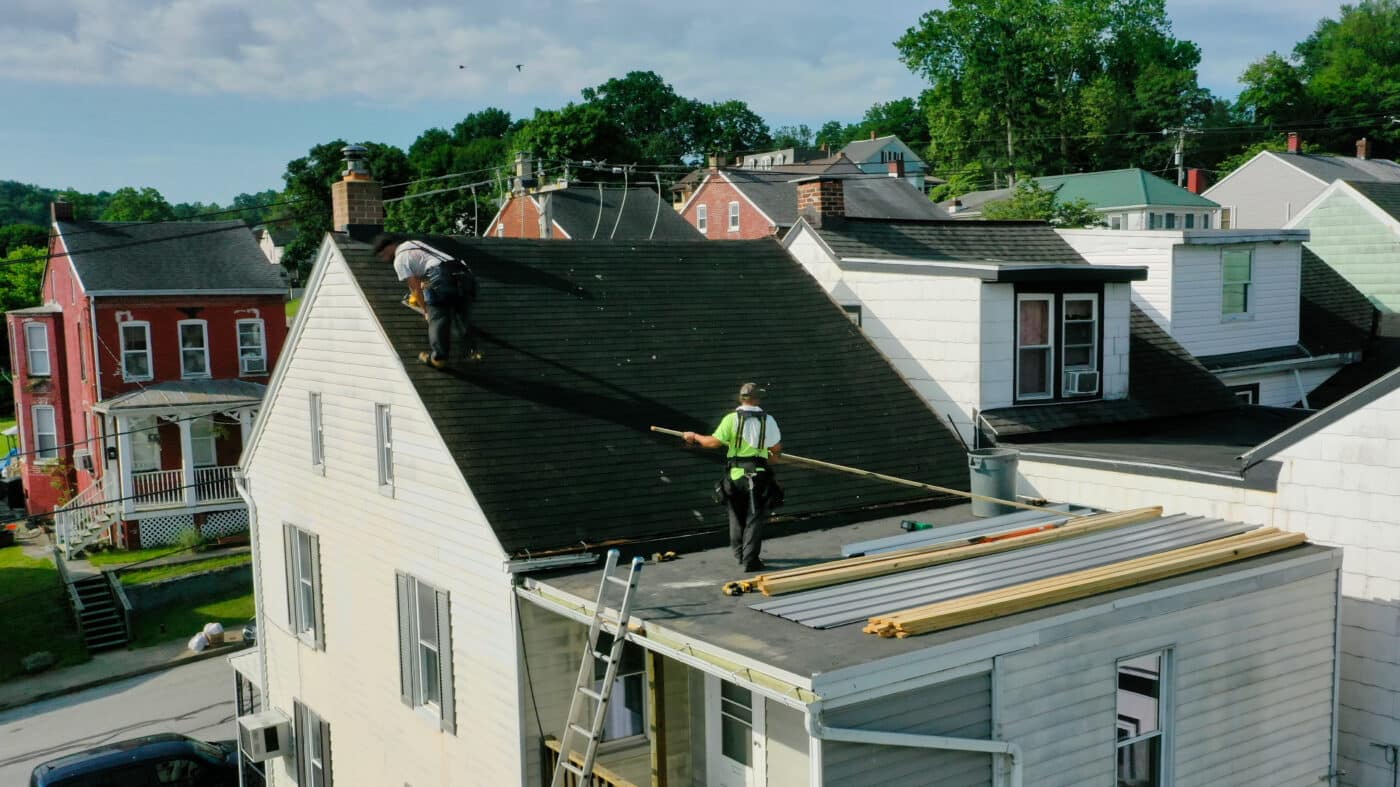
Before starting the installation, you’ll need to make sure the roof’s surface is properly prepared. If your project requires removal of the existing roofing, begin by removing the old roofing materials to expose the decking beneath. Carefully inspect the decking for damage, such as rot or weak spots, and make any necessary repairs. Once the surface is sound, install a waterproof underlayment across the entire roof area. This layer acts as a barrier against moisture and adds an extra layer of protection for your home.
2. Install the Drip Edge
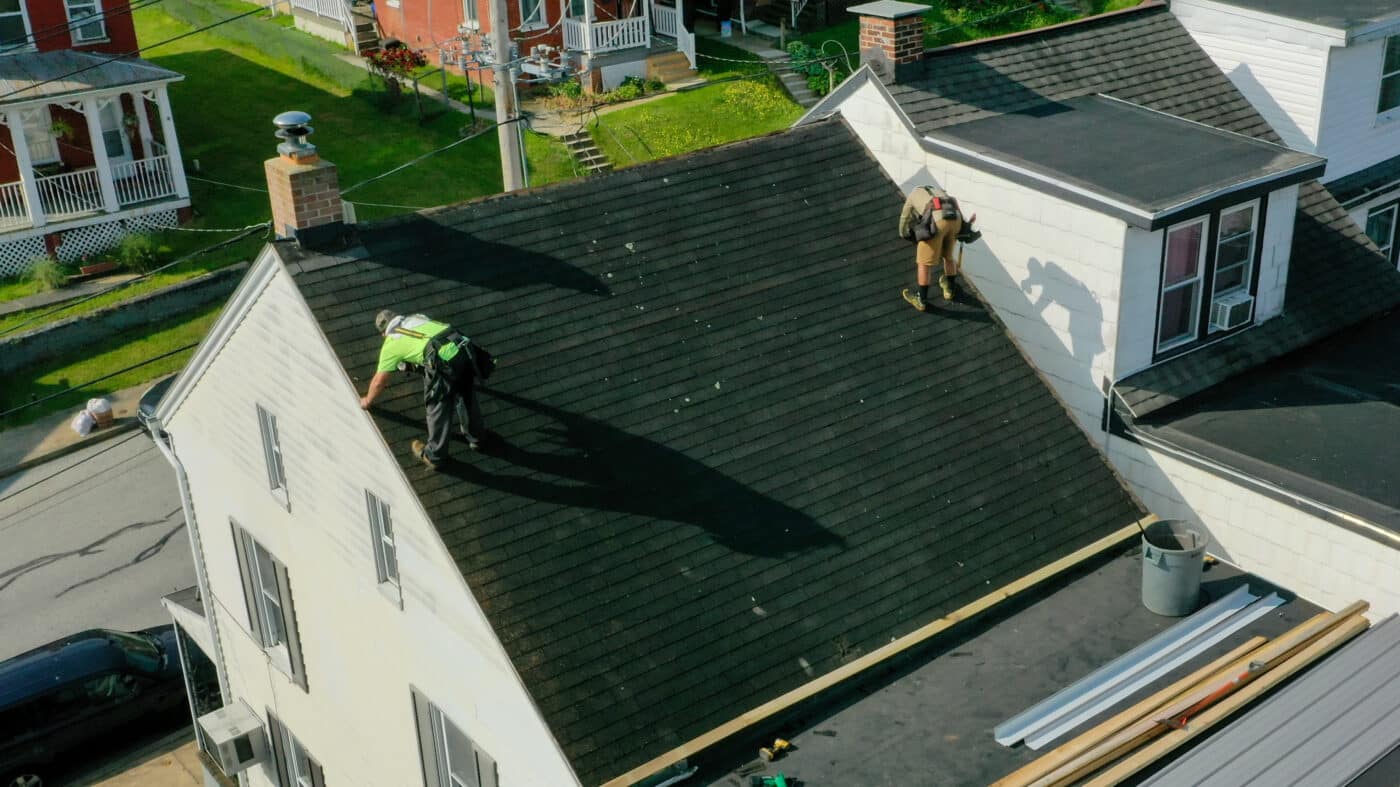
Next, attach the drip edge along the roof’s perimeter. The drip edge is a metal strip that directs water away from the structure, preventing damage to the edges of the roof. Secure the drip edge with nails or screws, ensuring it’s flush with the roofline and properly aligned for a clean finish.
3. Plan Panel Layout
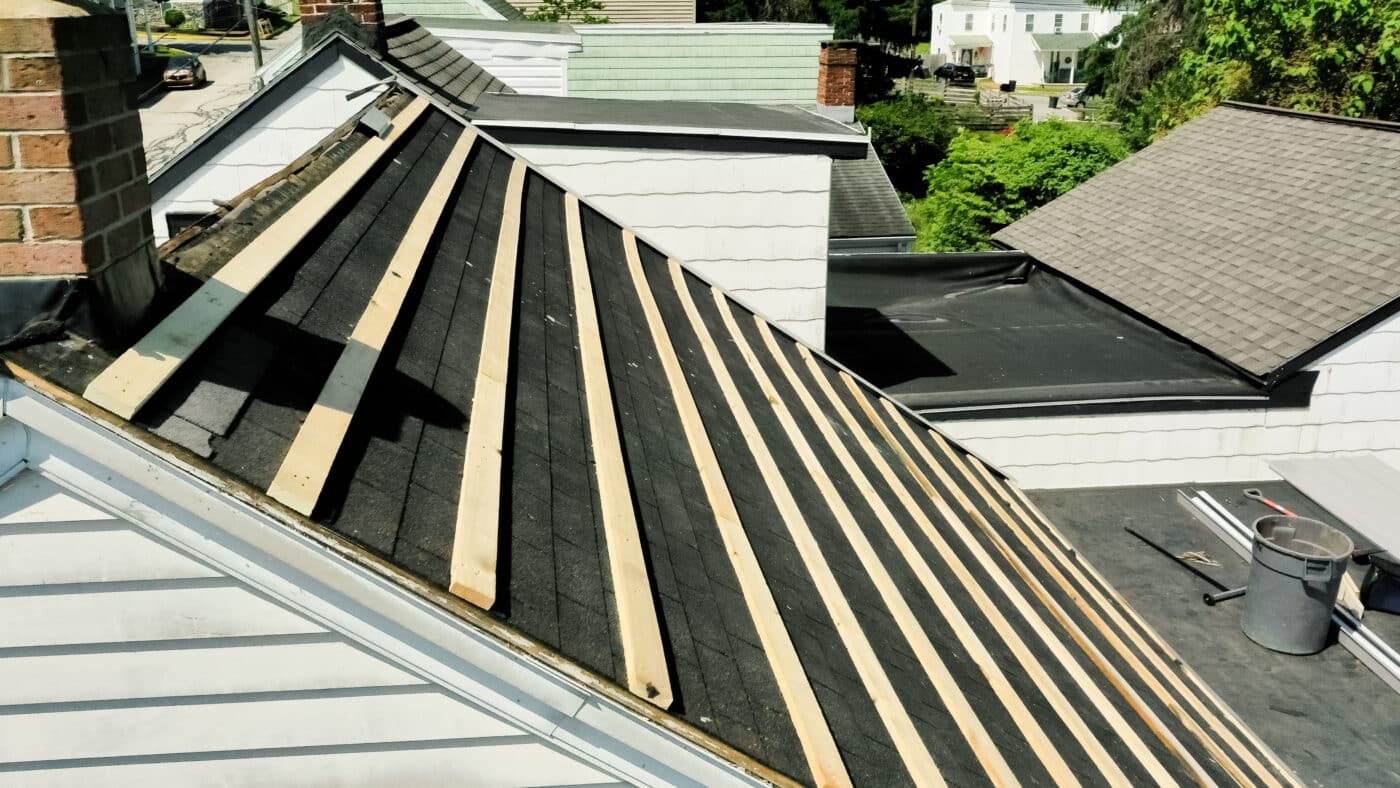
With the surface prepared, plan your panel layout. Determine the starting point, usually at the roof’s edge opposite prevailing winds, to ensure that overlaps face away from the wind. Carefully measure and mark the roof to maintain alignment as you work, especially for roofs with multiple sections or ridges.
4. Cut Panels to Size
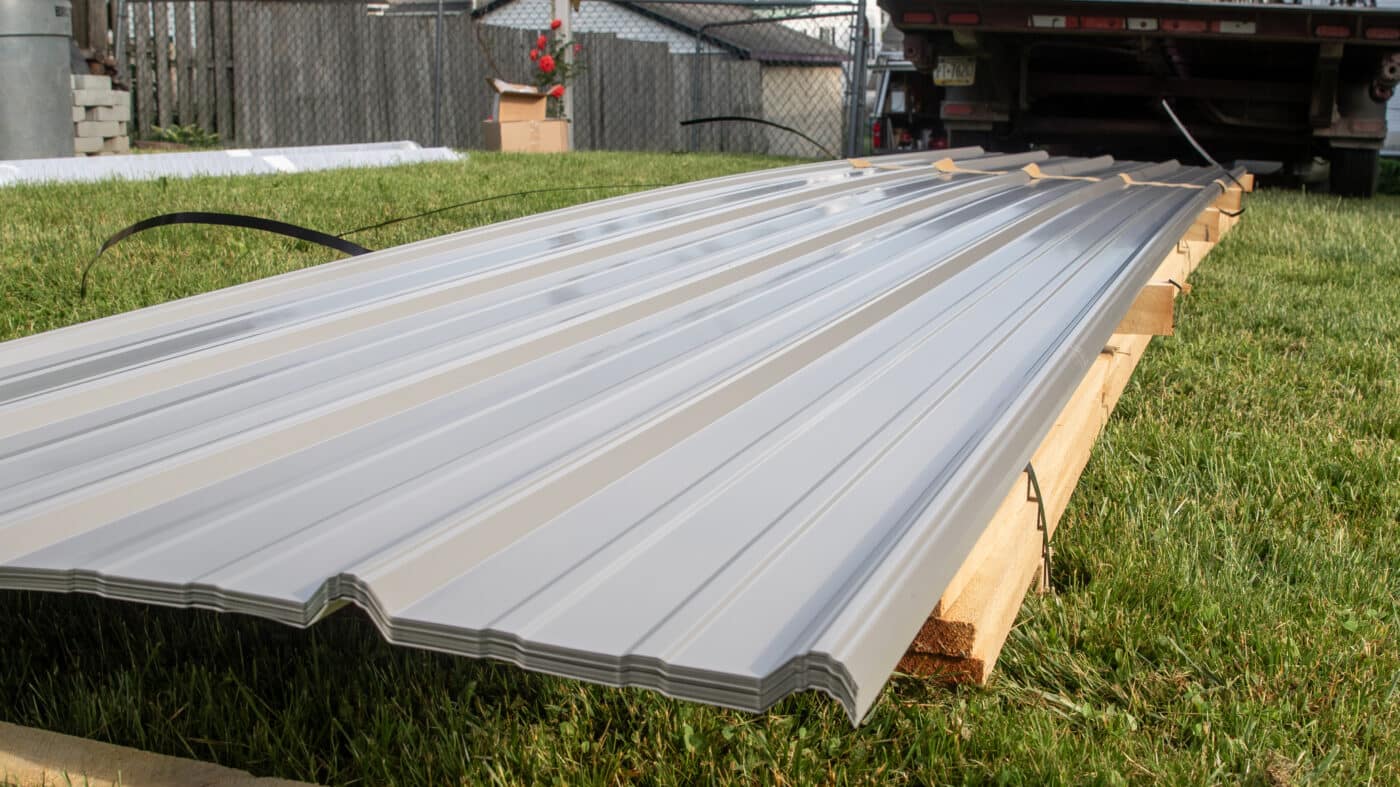
Before installing the panels, cut them to size as needed. Use metal snips or a circular saw with a metal-cutting blade to ensure clean and precise cuts. Always double-check your measurements before cutting to avoid material waste.
5. Position the First Panel
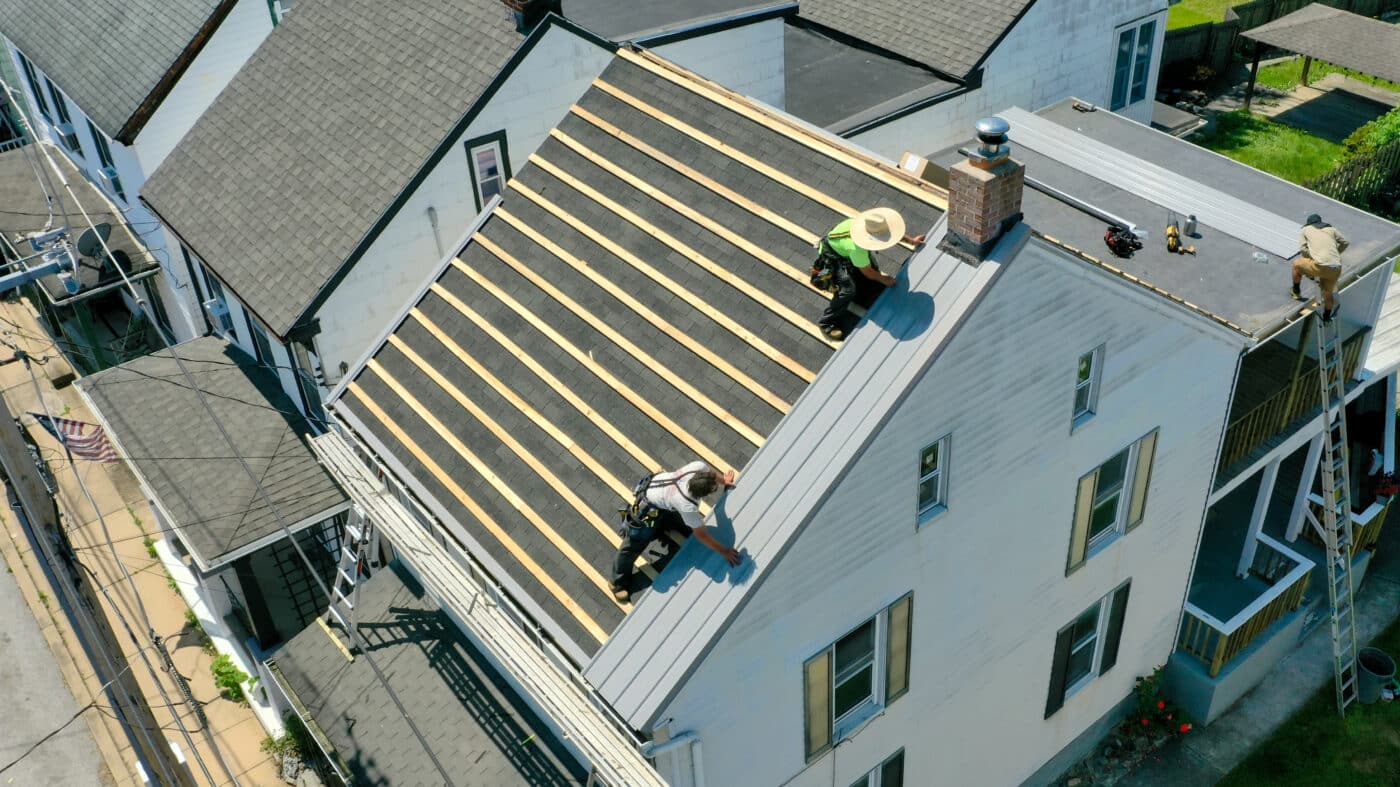
Begin installing the first panel by aligning it with the drip edge and allowing for the specified overhang. This first placement is key as the next panel will need to securely overlap the one before it.
6. Secure Panels with Fasteners
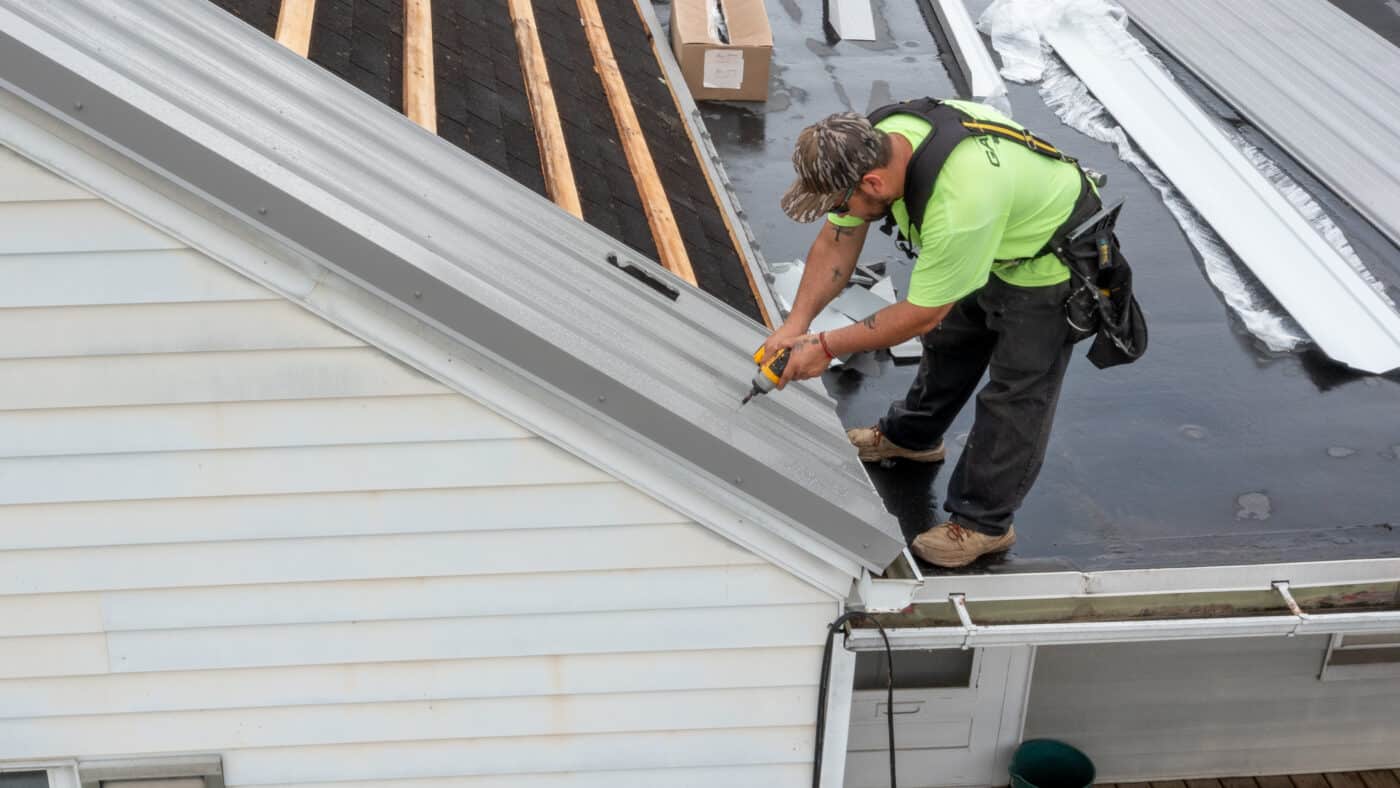
Secure the panel using screws with rubber washers, spacing them evenly along the ribs. This creates a watertight seal while preventing damage to the panel.
7. Overlap Panels Properly

As you install subsequent panels, overlap them according to the manufacturer’s guidelines. Proper overlapping is crucial to prevent water leaks and maintain the roof’s durability. Use the pre-drilled holes or alignment marks on the panels to guide your installation.
8. Install Ridge Cap
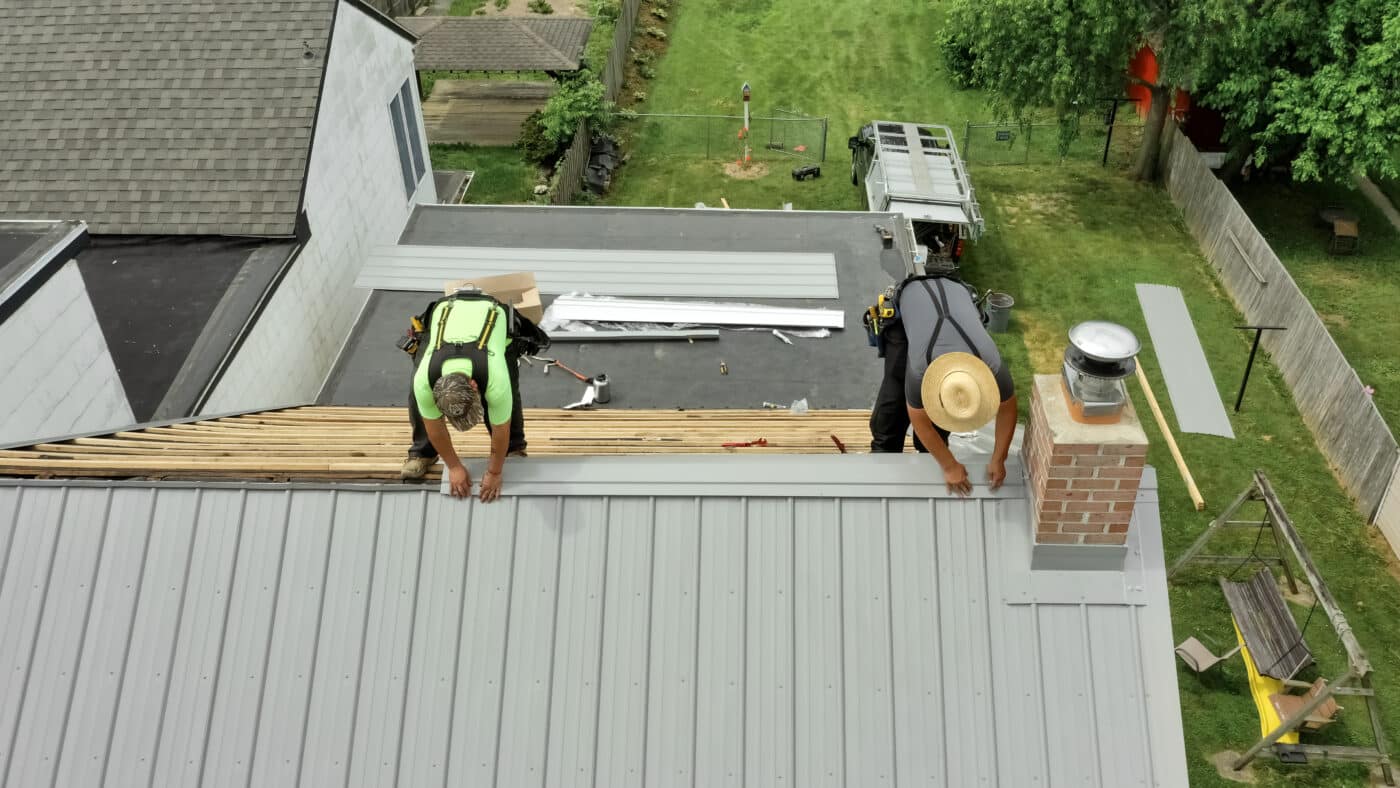
Once all panels are in place, install the ridge cap along the roof’s peak. The ridge cap not only provides a finished appearance but also seals the roof’s most vulnerable point against water infiltration. Secure it with screws and ensure all seams are tightly sealed.
9. Add Flashing

Finally, add flashing around chimneys, vents, and skylights to create a waterproof barrier. Flashing is essential for preventing leaks in areas where the roof meets other structures. Follow manufacturer recommendations to ensure a secure and effective seal.
10. Inspect and Finalize Your Roof
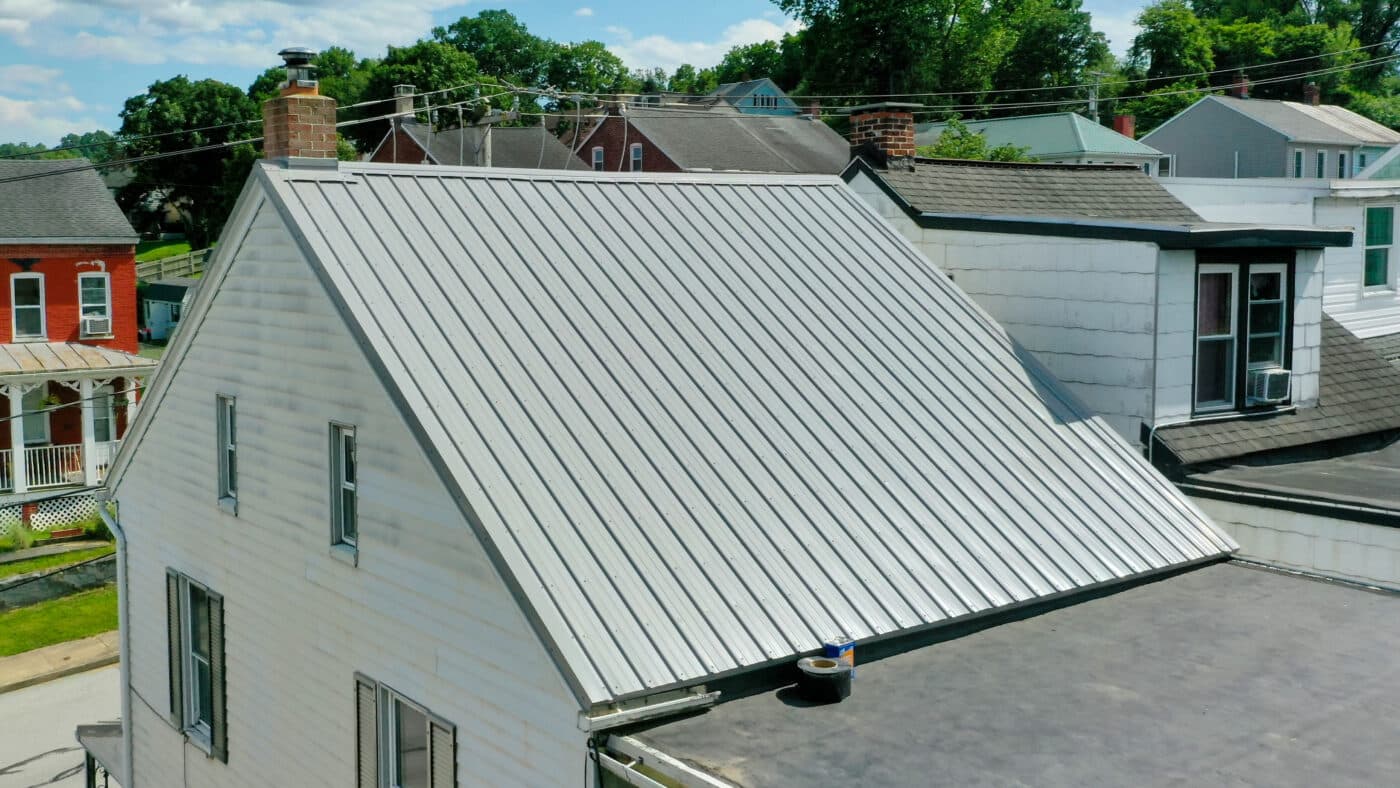
Before calling the job done, inspect the entire roof. Check that all fasteners are tight, overlaps are secure, and edges are aligned. Remove any debris from the roof surface, as leftover materials can cause damage over time. With the inspection complete, your new metal roof is ready to provide years of protection and style!
DIY metal roof installation can be a fulfilling and cost-effective project with proper preparation and guidance. By considering key factors like roof type, structure, and panel selection, and following a structured process, you can achieve a durable, professional-looking roof that enhances your home’s aesthetic and value.
Wagler Steel Provides Panels For Your Metal ROof Installation
Wagler Steel is your trusted partner for all your metal roofing and metal siding needs. We offer a wide variety of durable, high-quality panels designed to suit any project. In addition to our wide range of panel styles, our panels come in a plethora of colors and finishes, and can be delivered directly to your job site. To see how our panels are installed and how your metal roof could look once done, view our completed projects or check out a video of this metal roof installation below.
If you’re ready to get started, contact us today to place an order for your metal panels or to request more information. Our team is happy to provide personalized recommendations, additional installation guides, and detailed quotes to help make your roofing project a success. Reach out now and take the first step toward a durable, stylish metal roof with Wagler Steel.
