How To Make The Best Metal Raised Garden Beds For your Homestead

How many times have you heard someone say: “I love gardening, but this bending over all the time isn’t getting any easier!” The odds are if you have been around a farmer or a hobby gardener, you have heard this phrase all too often. However, a metal raised garden bed for their homestead may be just the ticket to getting your friends and family back in the garden!
*Due to a large volume of calls, we want to clarify that we do not sell corrugated metal panels. However, our Board and Batten Panel, Wagler Panel, and Paradise Panel would all make great options to use as the metal panel for your raised metal garden bed. This blog aims to teach you how to create a few styles of metal raised garden beds and then use our panels to create the garden beds with these concepts in mind.
What Are Metal-Raised Garden Beds For Homestead Gardening?
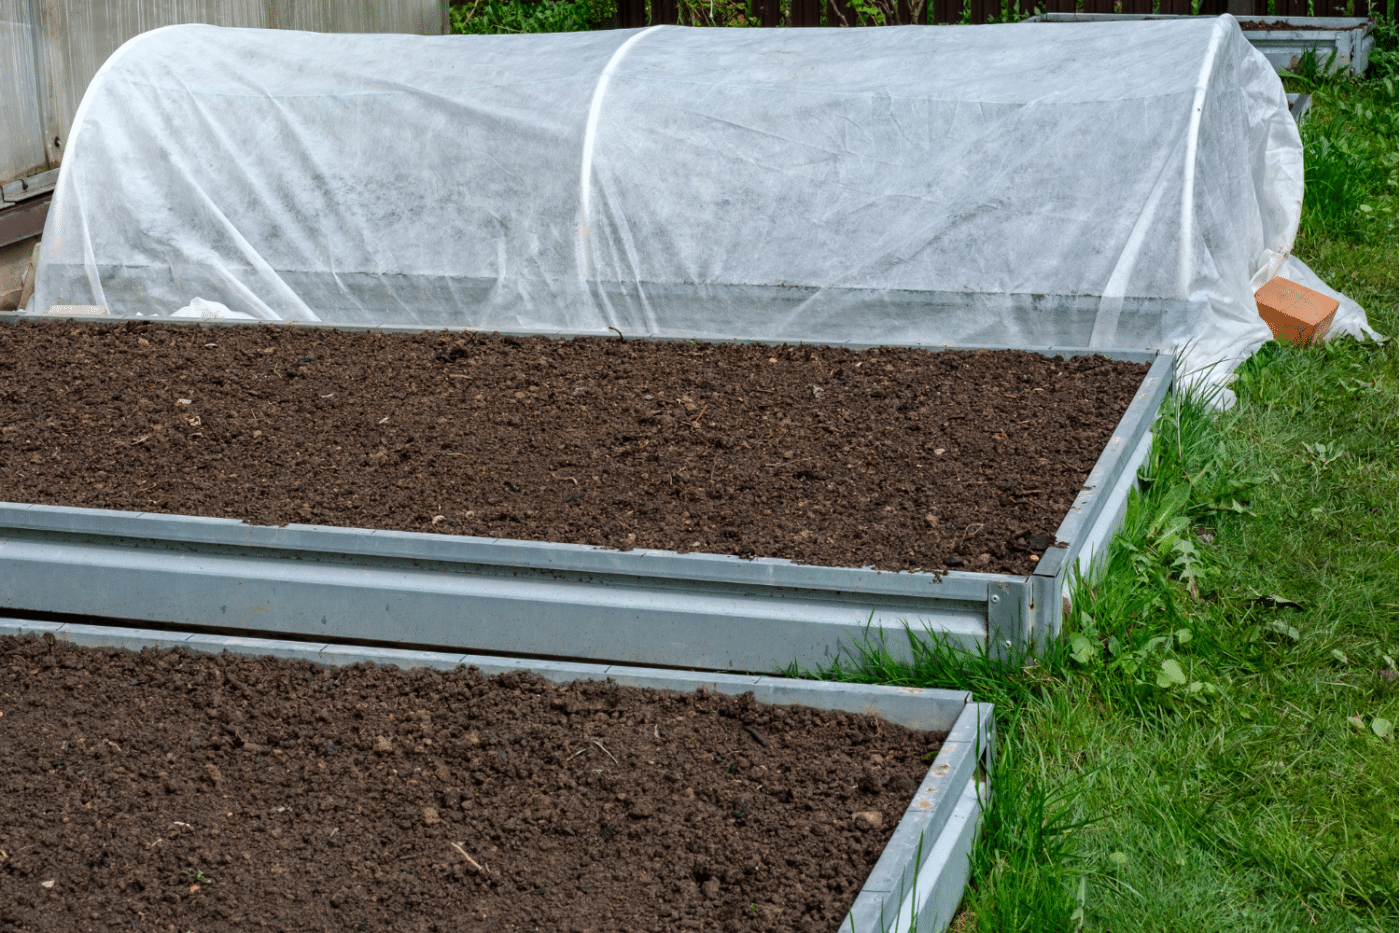
Metal-raised garden beds use metal panels to create a container in which you can grow your veggies, flowers, or other crops. Your metal raised garden bed is designed to bring the working garden level up closer to you. This design also serves as a way to keep your crops from becoming easily damaged.
What Materials Do I Need To Build Raised Metal Garden Beds?
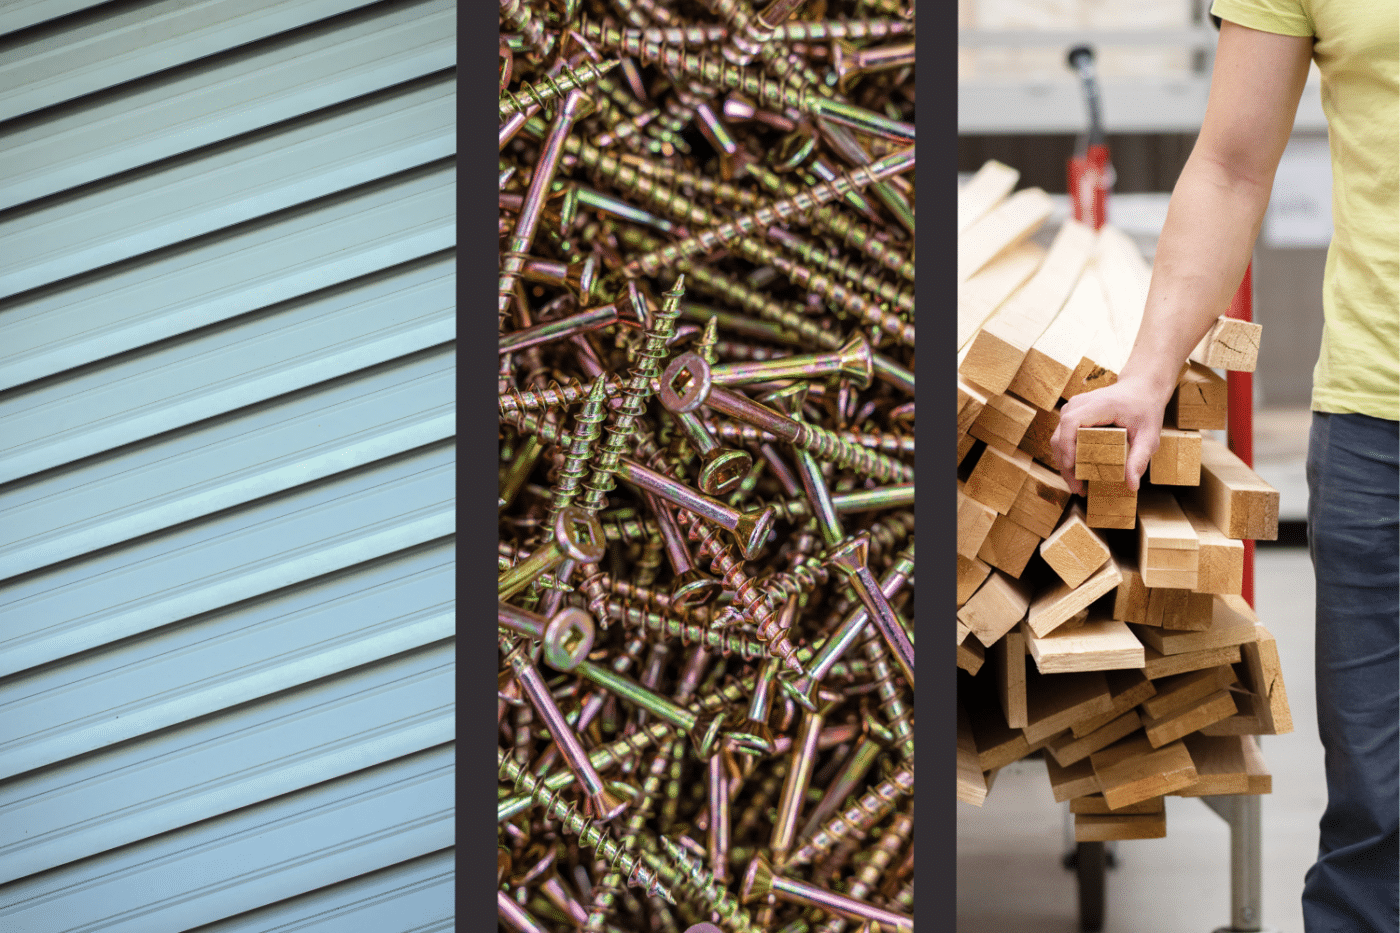
To build raised metal garden beds, you will need the following:
18 Linear feet Of Wagler Panels cut to 2 feet in length in the color and finish of your choice
(4) 24 Inch Corner Roof Flashing
1 Pressure Treated 2x6x12 for Top Cap
1 Pressure Treated 2x6x8 for Top Cap
2 Pressure Treated 2x4x12 for Box Length
2 Pressure Treated 2x4x8 for Box Width
2” or 3” Roofing Fasteners
3 Inch Decking Screws
Deck Sealer (to protect the wood)
What Tools Do I Need To Build Metal Raised Garden Beds For My Homestead?
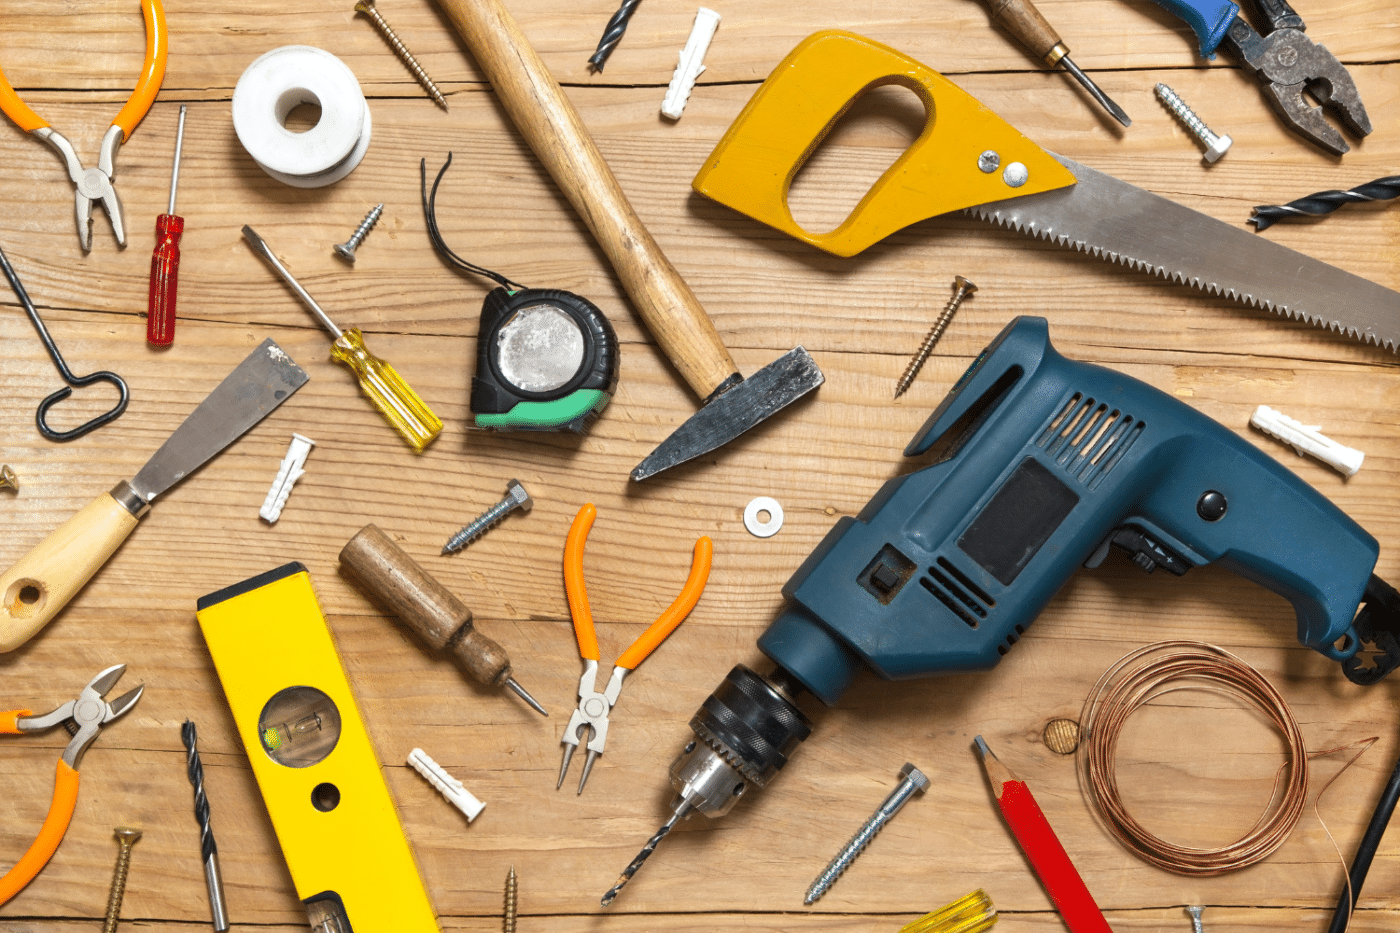
To build your metal raised garden boxes, you will need the following tools:
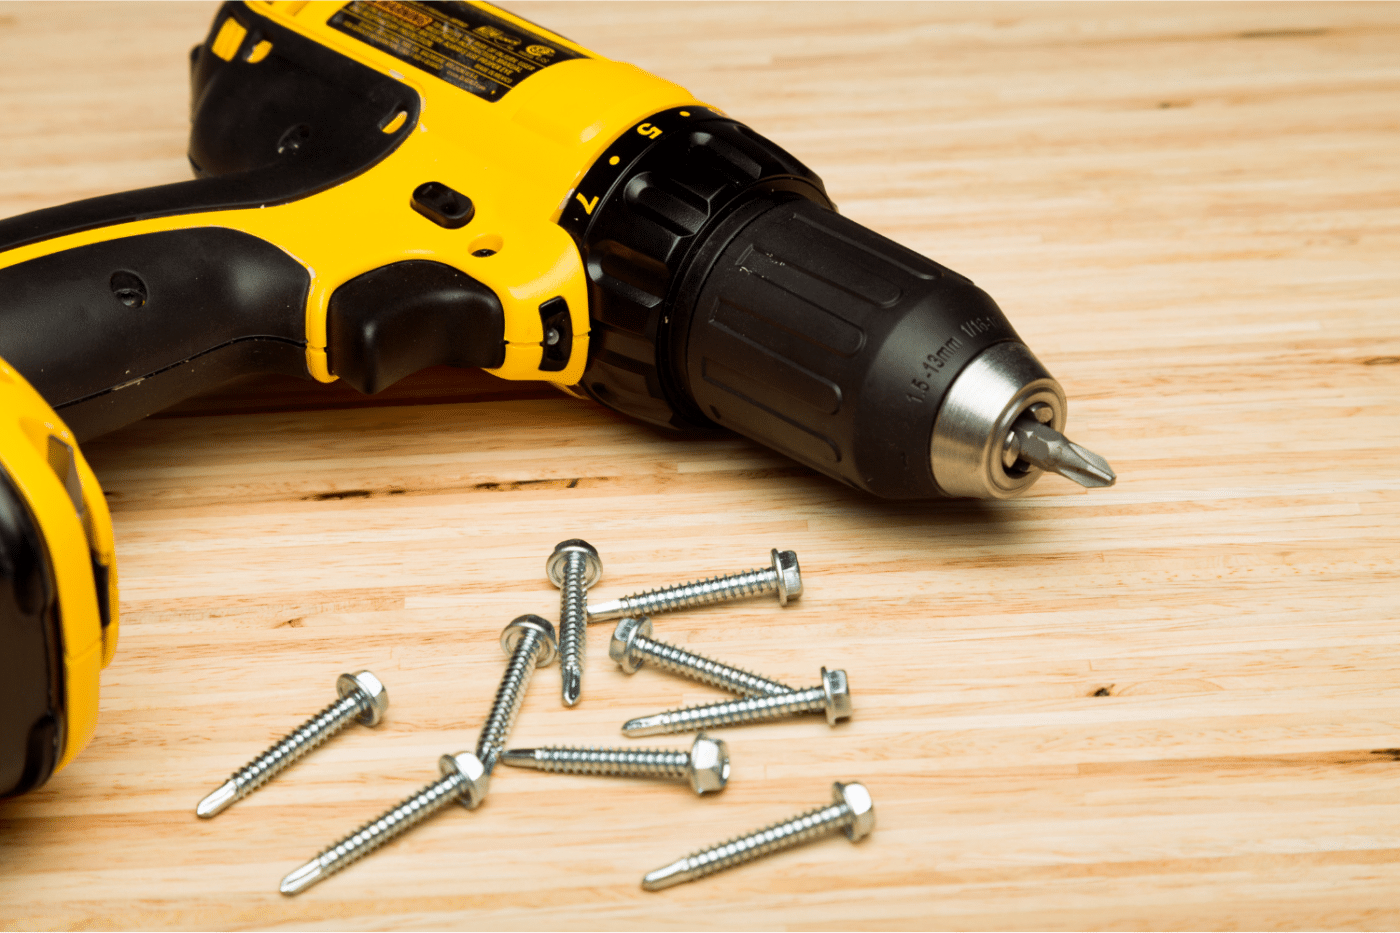
Power Drill
Tape Measure
Impact Driver
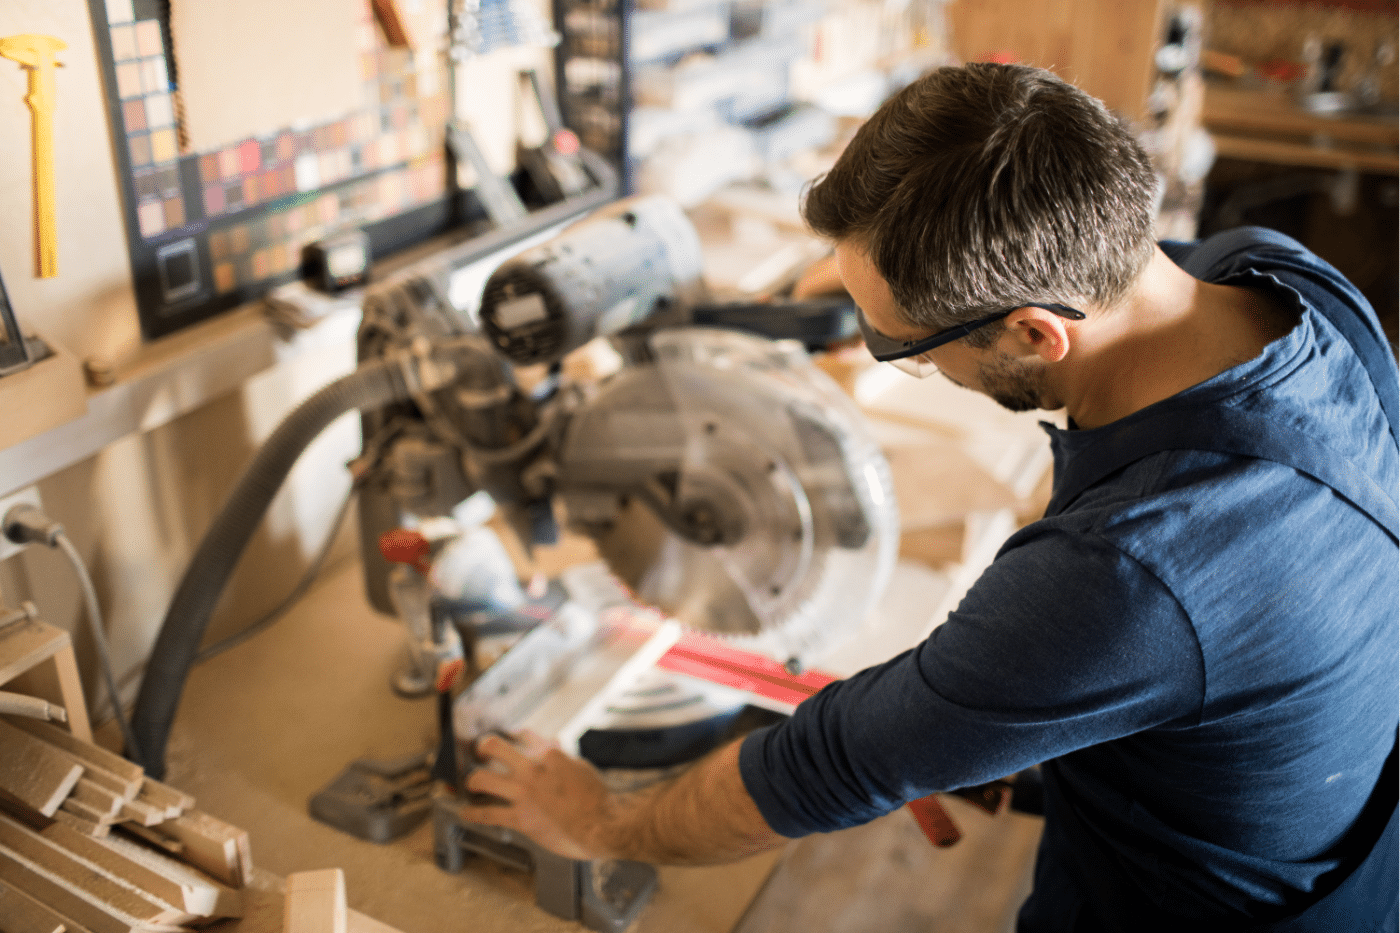
Miter Saw
Paint Brush/Roller
Sheet Metal Sliter (Optional)
Steel Snips
2 colors of Permanent Marker
Gloves
Additionally, you may find that having someone help you to build this may be helpful when it comes to assembling or moving your project to the desired location.
How Large Or Small Can I Build My Metal Raised Garden Beds On My Homestead?
Your metal raised garden beds can be built to any size you need or want. If you would like your garden bed to be smaller than three feet wide, you will need to use a sheet metal slitter or tin sips to cut the material down to the appropriate length. However, if you desire to make your metal raised garden bed longer than six feet, you should keep the idea of increased bracing at the forefront of your design.
Increased Bracing For Your RAised Metal Garden Bed
As you make your garden boxes taller or longer, you will need to increase the bracing. The reason increased bracing is essential is that you want your metal raised garden bed to contain all the fill placed inside. Without enhanced bracing, it can cause your garden bed to buckle or bulge out, which will require you to replace the metal panel.
How Do I Build Metal Raised Garden Beds For My Homestead?

Once you have gathered all of your materials and tools, you are ready to start building your raised garden beds. To assemble the garden beds, follow this step-by-step guide, and you will be well on your way to having the garden boxes you have always wanted on your homestead.
1.) Order The Metal For Your Raised Metal Garden Beds

At Wagler Steel, we have 2 metal panel finishes and over 20 colors to choose from. Most times, people find a color that compliments their home is the best option when they create their garden boxes. However, you can choose any color that you would like. Once you have selected the colors that you want, give us a call or send us a quote request and tell us that you need 18 linear feet cut into two-foot sections for a garden box project. We will have it ready within 24-48 hours at our shop waiting for you.
Our roof flashing trim comes in 10-foot lengths. You can choose if you would like your trim to match your panels or find a color that complements the panel color you chose. We have our trims are available in all of the colors and finishes that we have available for our wagler panel.
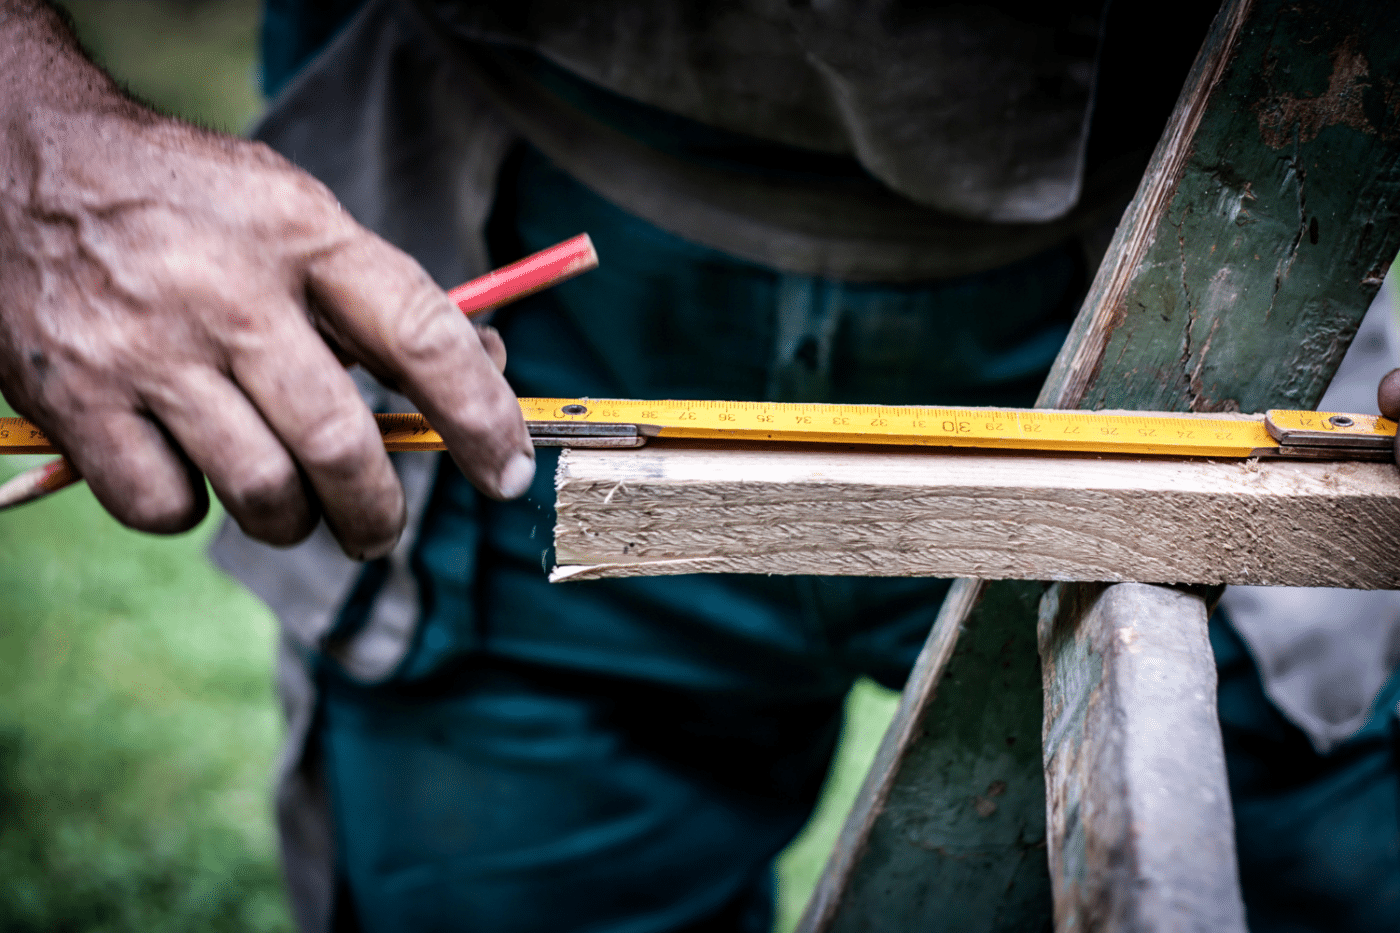
2.) Measure and Cut The Wood
Once you have ordered your panels, it is time to get to the woodworking part of your project. It is best to order your panels before starting this woodworking portion of your project. This is because you will need to stain the wood, which will require time to dry before assembling the metal to the wood.
As we mentioned earlier, you will need
One Pressure Treated 2x6x12 for Top Cap
One Pressure Treated 2x6x8 for Top Cap
Two Pressure Treated 2x4x12 for Box Frame Length
Two Pressure Treated 2x4x8 for Box Frame Width
You will need to measure and mark the boards using your permanent marker and then cut the boards in the following manner.
Your 2x6x12 will need to be cut in half for the Length of the Top Cap Length.
Your 2x6x8 will need to be cut down to have (2) three-foot width pieces for Top Cap.
Your two 2x4x12 wood pieces will need to be cut in half for the length of the box frame.
Your two 2x4x8 wood pieces will need to be cut into three pieces so that you have (2) three-foot sections.
We recommend that you miter the ends of each piece of wood to a 45-degree angle so that they can come together easily.
3.) Add Sealer To The Wood
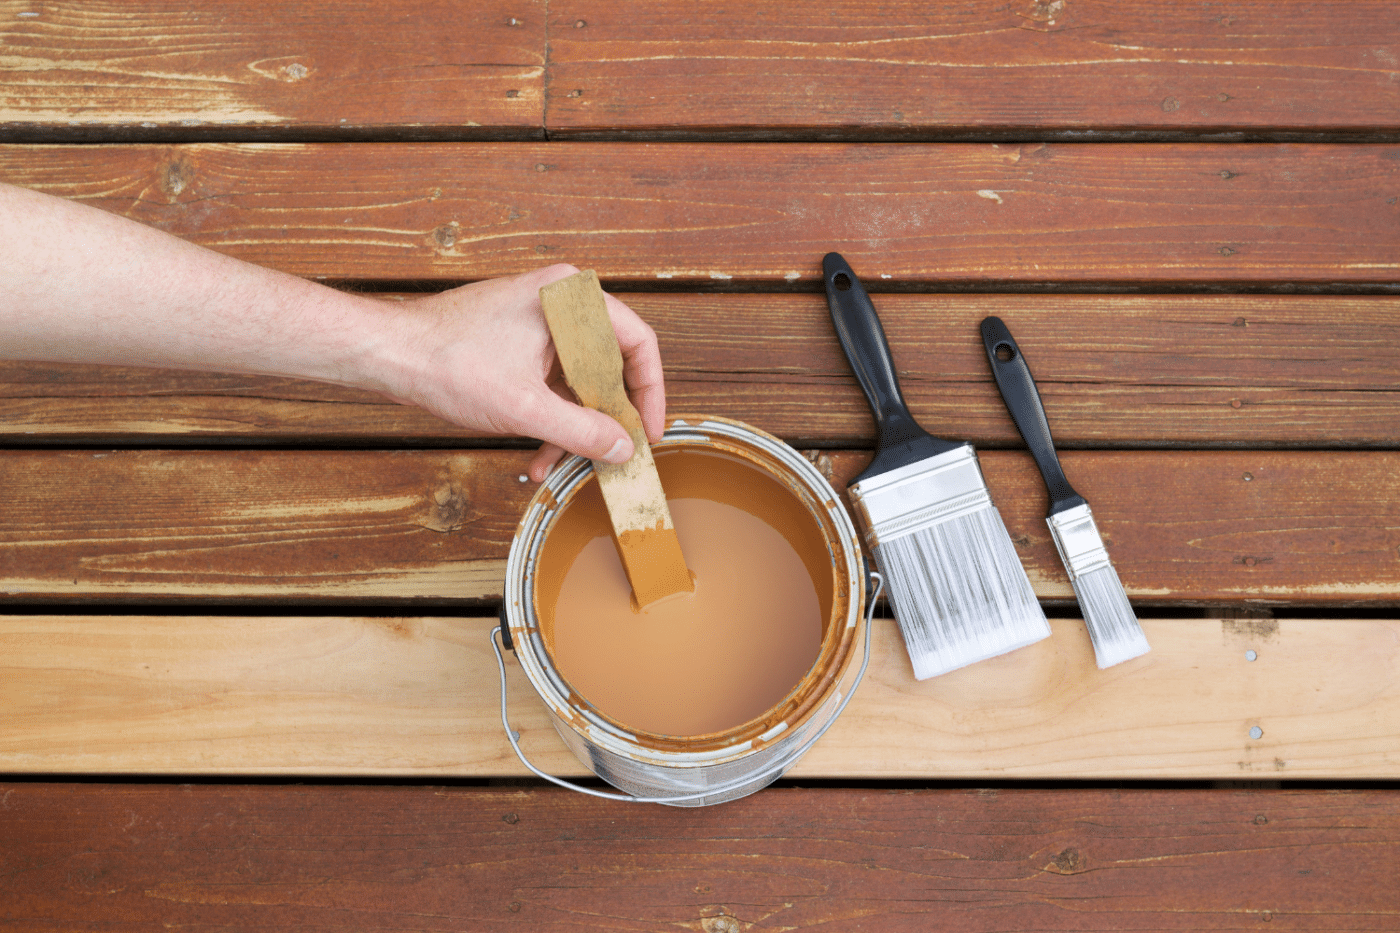
Once all of your wood pieces are cut to the appropriate length, it is time to add the seal. When you add sealer to the wood of your metal raised garden boxes, it will increase the longevity of the wood. However, given that the wood being used will be used around plants, it is of the utmost importance to use a sealer that is safe around plants. For that purpose, we recommend using a plant-based sealer. Use a paintbrush or roller to paint on the sealer.
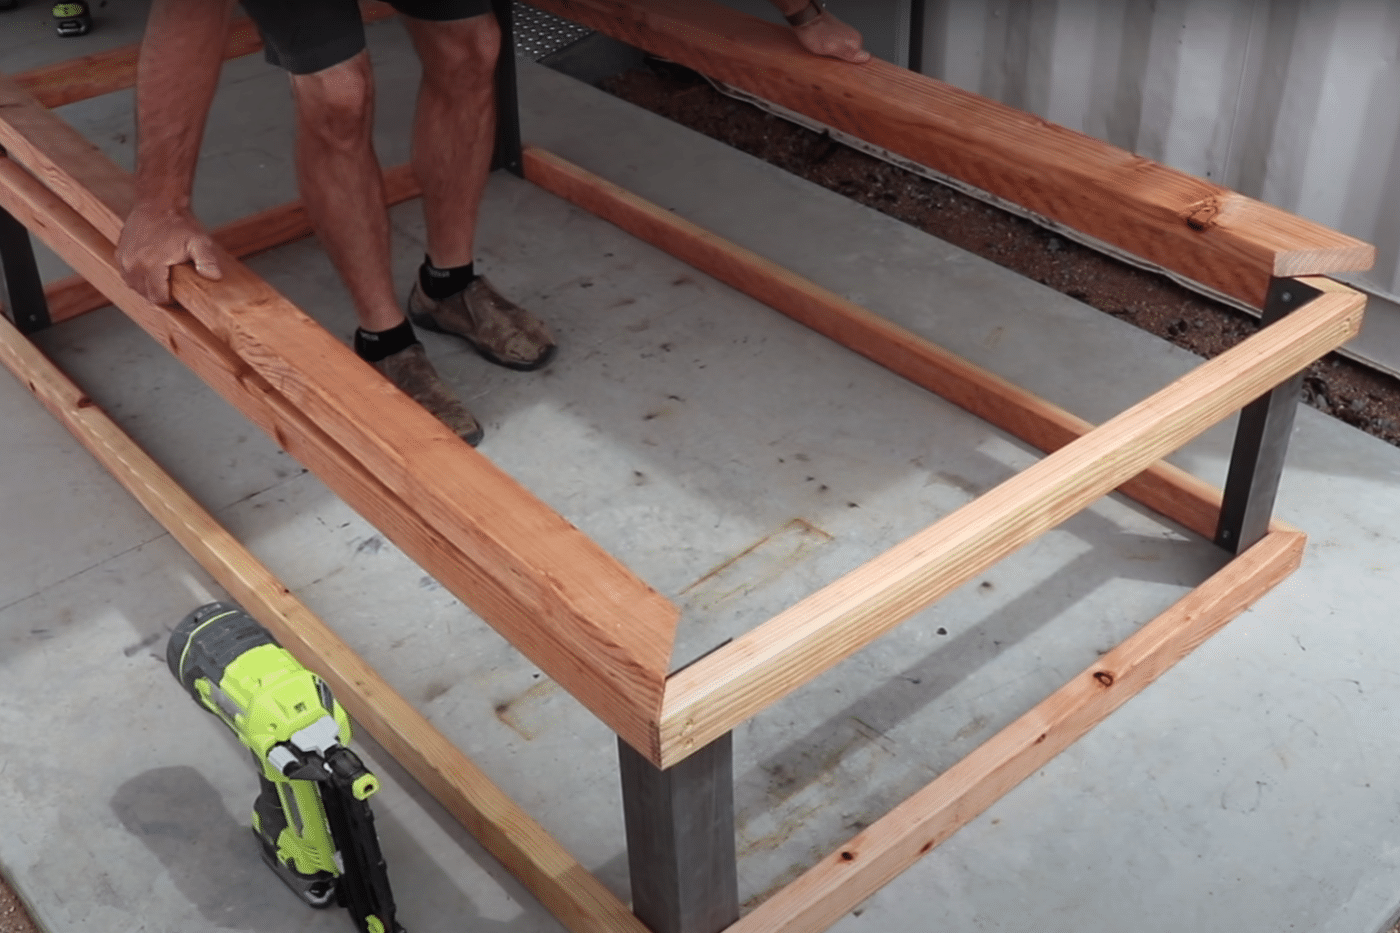
4.) Create Your Metal Raised Garden Bed Frames
Once you have cut your wood, you have sealed it, and the sealer has dried, you are ready to start laying out your wood pieces for assembly.
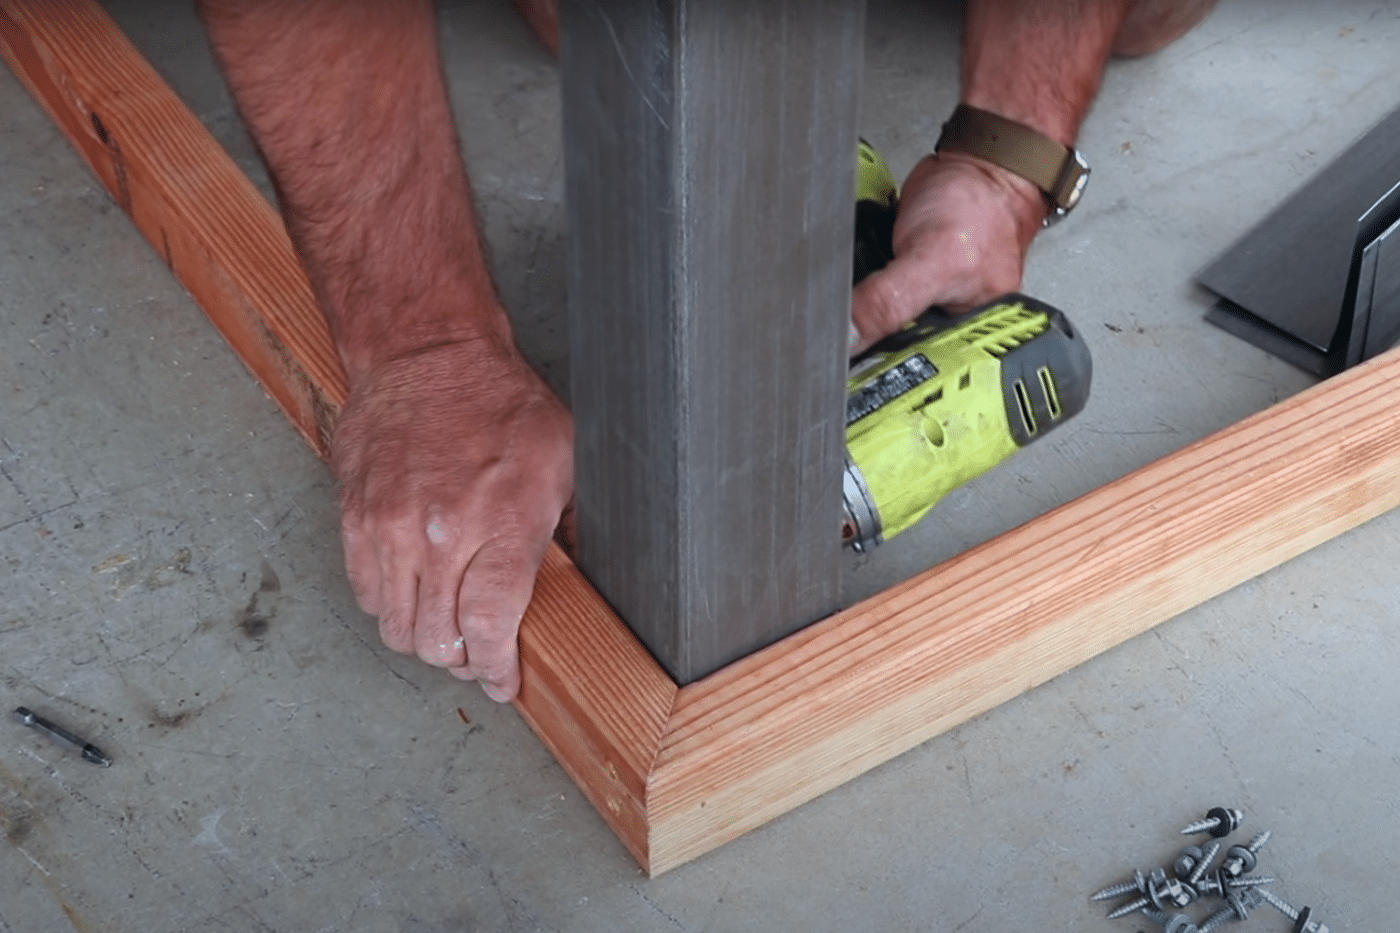
Place one of your six-foot lengths (the 2x4x6 at this point) on the ground with the 45-degree angle facing in. Once you have done this, find two of your 2x4x3 sections and bring them together with the six-foot portion so that they make a complete 90-degree angle.
Once you have done this, use your drill to pre-drill 2 holes along the six-foot piece of wood, where the two pieces join together at 45-degree angles. After the holes have been pre-drilled, screw the pieces together.
After this is done, with both the top and bottom piece, find the other length piece that is six feet long and match the mitered side to the (2) three-foot sections so that a 90-degree corner is made. Repeat the process of drilling two holes into the six-foot side pieces and then join the piece together using screws. At this point, you will have one of the frames completed. Repeat this process to complete the second frame.
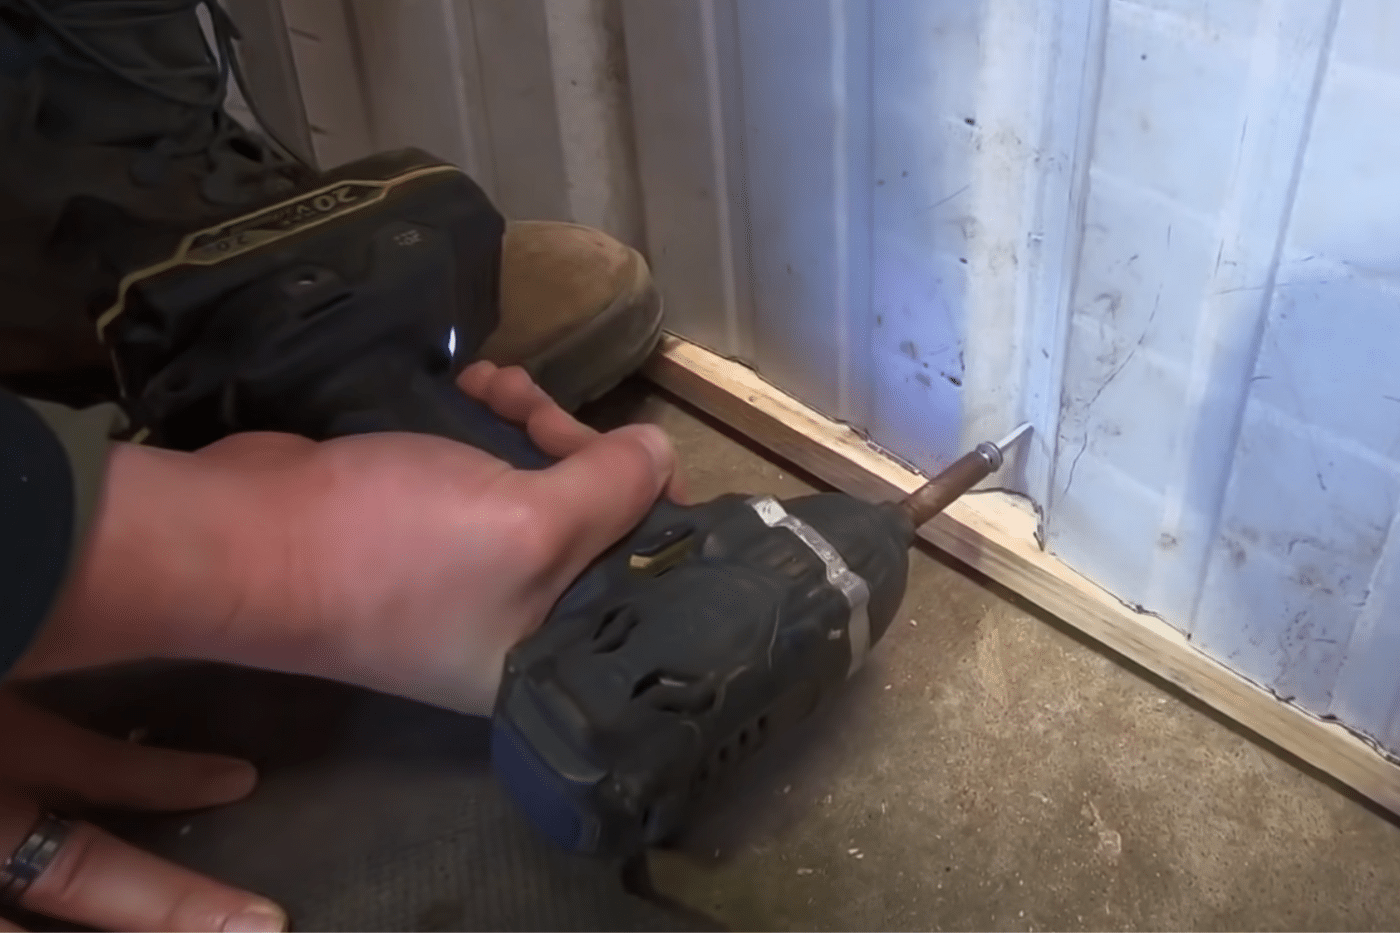
5.) Insert The Roof Flashing TO YOur Raised Metal Garden Boxes
The next step is to cut down your roof flashing. Your roof flashing will come in one ten-foot piece. For the purpose of this project, you will need to cut this into five pieces on the inside of the trim. Make a mark at every 24 inches in one color and every 26 inches in the other color. This extra space will allow you to use tin snips to your benefit when cutting the length you need. To help understand this part of the process a bit better, take a look at this video.
Once you have cut out your flashing to the proper length, select one of your frames and use your impact driver to place the flashings in each corner with the roofing fasteners. Make sure that the colored side of the roof flashing is pointing out. In addition to that, ensure that the fasteners are as close to the inside corner as possible. Do this in all four corners.
After you have completed this, the next step is to take the frame that has the roof flashings attached and flip it over so that the flashings are pointing down. Take this frame over to the other assembled frame that is on the ground. As you set the frame down, make sure that the flashings are on the inside of the frame that is on the ground. Once you have the flashings on the inside of the frame, use your impact driver and roofing fasteners to fix the roof flashings to the other frame.
Once this is completed, the whole shell portion of the frame is completed.
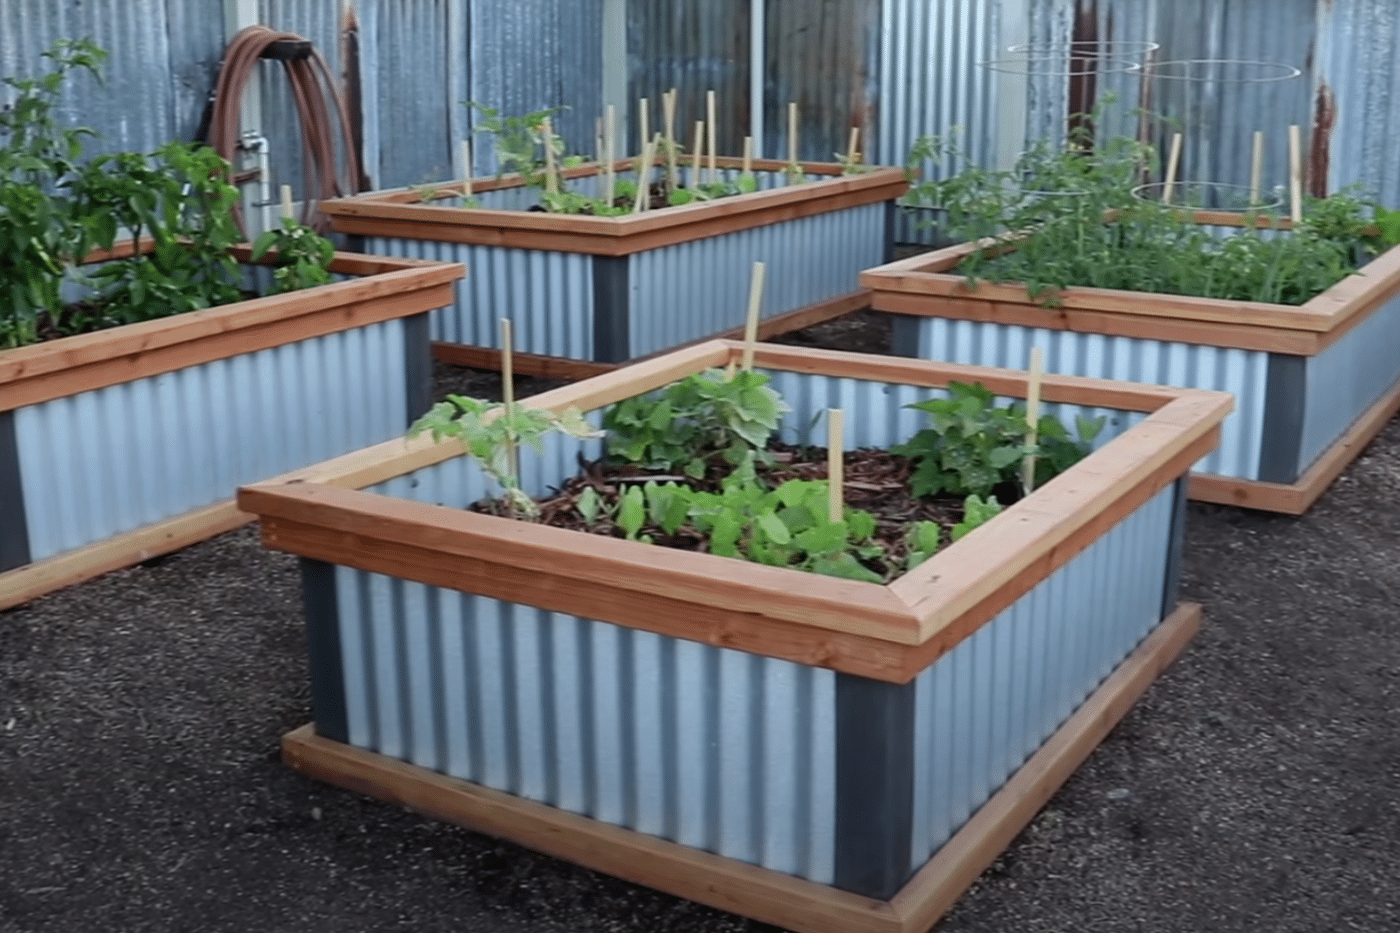
6.) Place The Top Cap Of YOur RAised Metal Garden Beds
Once all of these steps have been completed, you will need to begin placing your top Cap. When placing the top caps on the top of the frame, you want to make sure that at least 5/8th of an inch is hanging over the inside portion of the frame. This overhang is to ensure that the metal panels you install will be covered entirely on the edges of the metal panels, ensuring that you or someone else is not cut by the metal.
Once you have them laid out correctly on the top part of the frame, begin screwing the top Cap into the frame. We advise using screws and your impact driver and placing a screw every eight inches to hold your top Cap in place. We also advise that you use your drill and predrill holes in the mitered edges and then use a screw to bring the corners tightly together.
This top Cap will function not only as decoration but as a great seating area as well.
7.) Touch up The Sealer That Is On The Wood

At this point in the project, it is good practice to go and touch up the wood used for your project. We suggest that you go over the areas where screws were placed or other areas that seem to have too little of a sealant coating. Unlike when you sealed the wood the first time, this time, you do not need to wait for the wood to be completely dry to add in the panels.
8.) Begin To Add In The Metal Panels
At this point in the process, you are ready to install your Wagler Panels. (Read about 13 other metal panel options) To start this process, roll over your garden box frame so that one of the longer sides is on the ground.
Once you have completed this step, you must get two of the Wagler Panels (with the colored side facing outward). Here you will lay them across the inside part of the frame with an inch worth of the panels overlapping. Fasten the panels, using roofing fasters at this overlap point first. Add the fasteners on both the top and bottom of the frame.
Once you have completed this step, add fasteners every 6 inches to ensure that the metal panels are adequately fixated to contain the fill you will later put in them. Do this on both the top and bottom of the frame. We also suggest that at the overlap of the roof flashing and panels that, a fastener is placed to join the two together. This will increase the integrity of the seam between the panel and the flashing.
Repeat this process for the other long side of the garden box frame.
Once both of these sides are done, you will need to do the widths of the raised garden bed. To do this, ensure that the width side that you desire to install is on the ground. Next, get the panel that you wish to install (with the colored portion facing out) and fit it into place with the panel on the inner side of the frame.
Once the panel is placed on the inside of the frame, find the center of the panel. From here, use your impact driver to input a fastener into the top and bottom of your panel and place a fastener every six inches. Just like you did with the lengths, make sure that you fasten the panel and the flashing together to increase the integrity of the seal between the two pieces.
Repeat this process on the other side.
9.) Enjoy Your Metal Raised Garden Bed For Homesteading
At this point, you are now able to use your metal-raised garden bed. The next step is to decide where you are going to put the garden bed and what you would like to grow. But before you get to growing your own flowers and veggies and fruits, we need to fill in the metal-raised garden bed correctly.
What Kind Of Material Should I Use To Fill My Homestead’s Raised Garden Beds?
Your raised garden bed should be filled with the following materials.
Cardboard
Wood
Plant Waste
Compost
Top Soil
Using these materials will ensure that your garden bed is capable of growing the vast majority of flowers, veggies, and fruits. However, if you know that your plant does better in a different soil state, feel free to make your raised garden bed fit the needs that your homestead has.
What Plants Will Grow Best On My Homestead Metal-Raised Garden Beds?

Truth be told, most plants can be grown in a metal-raised garden bed. Nonetheless, avid gardeners say that the plants listed below are some of the best plants for raised garden beds:
Peppers
Bush Beans
Tomatoes
Cucumbers
Carrots
Melons
Eggplant
Sweet Potatoes
Onions
Carrots
Beets
Radishes
Lettuce
Spinach
Kale
Garlic
Leeks
Peas
Pumpkins
Gourds
Phew! Now that is a lot of options.
Additionally, many people have found that raised garden beds allow them to grow other plants that the soil around them can not produce well naturally. One last thing to keep in mind the plants mentioned will be heavily dependent upon your grow zone.
Will Metal Make My Raised Garden Bed Soil Too Hot To Grow Vegetables On My Homestead?

No. The soil where the vegetables will grow will not be affected by the metal used for your garden boxes. However, if you are concerned about the temperature of the soil in your raised beds, we would recommend that you avoid dark colors for your metal panels. This is because metal panels that are darker in color tend to draw more sunlight, thus causing more heat.
Do Metal Raised Garden Beds Keep The Plants On My Homestead Safer Than Ground?
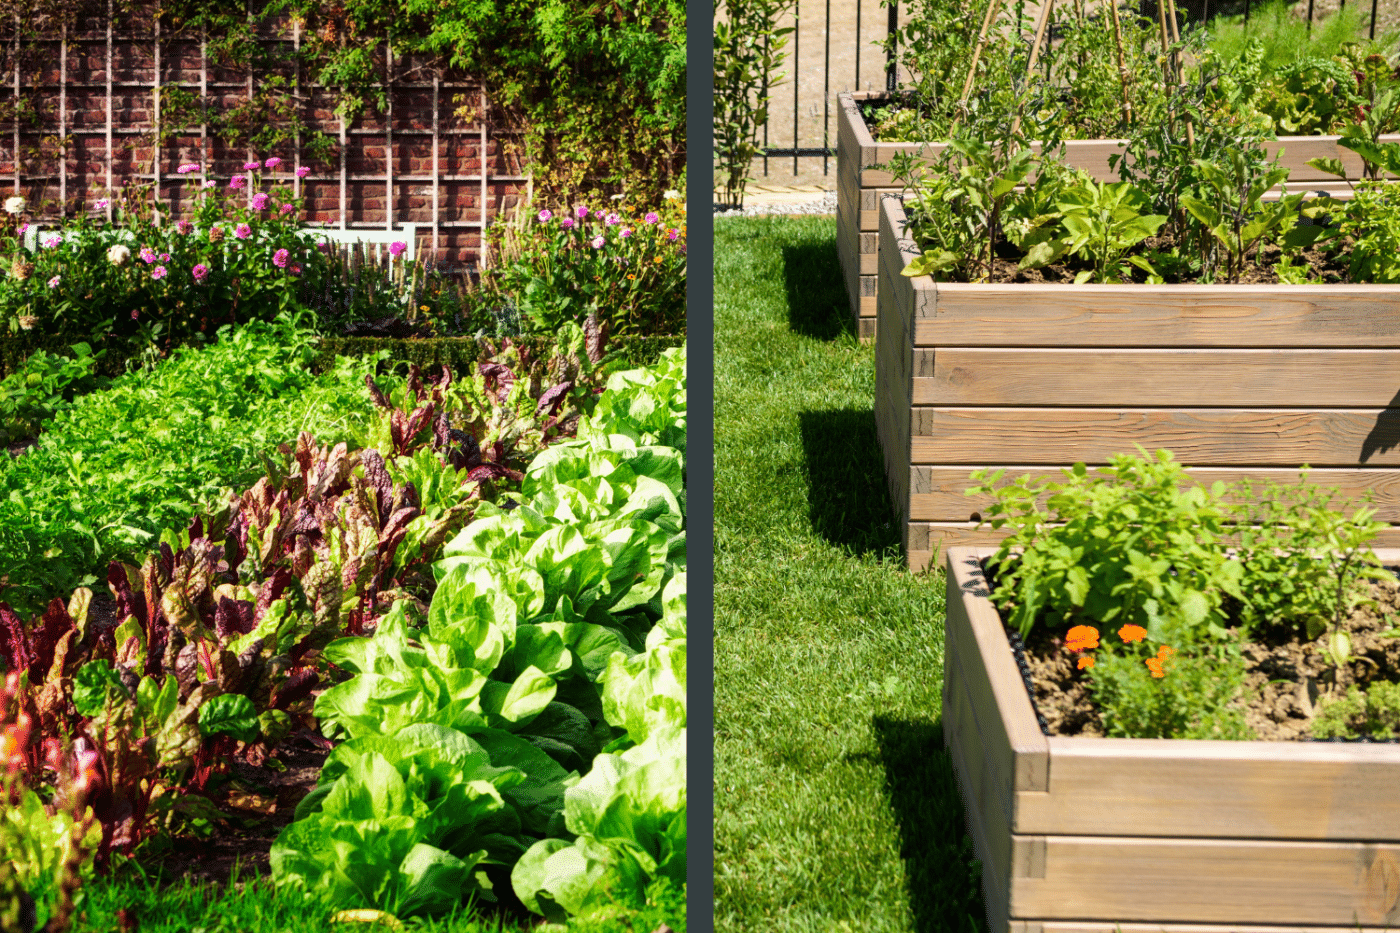
Yes. Your metal raised garden beds will keep your plants on your homestead safer. The reason your plants are safer than the ground garden is they are elevated from the foot traffic of the ground. This ensures that your garden is safe from your pets, who may unknowingly run through the garden. These raised garden beds will also keep your vegetables up from pests that may eat your plants at night.
So How Will You Grow Your Homestead Gardening Space?

At Wagler Steel, we are happy to serve your metal-raised garden bed needs and beyond. We have over 30 years of expertise in the metal business and can get you what you need in as little as 24-48 hours, so whether you are looking to build a metal raised garden box for your homestead or are thinking about residing in your barn. We are here and happy to help you with a hassle-free process from start to finish!